It was a cold, rain‑slick night in December when my kitchen turned into a culinary battlefield. I had just opened a box of chocolate pudding mix, thinking I’d whip up a quick dessert for a holiday gathering. Instead, I found myself drowning in a sea of milk, whipped topping, and cherries, and a sudden spark of inspiration hit me like a bolt of holiday magic: a Black Forest Fluff that would melt in your mouth and make everyone ask for a second plate. I dared myself to turn that simple mix into something unforgettable, and I’m still shaking with excitement every time I taste the finished product.
Picture the scene: the kitchen lights flicker, the scent of chocolate thickens the air, and the faint hum of the refrigerator sets a steady rhythm. The glossy puddle of milk swirls around the pudding base, creating a glossy sheen that looks almost too good to eat. The sound of the whisk tapping the bowl is a steady metronome, while the tiny bursts of cherry juice pop like confetti. Each bite is a cascade of silky chocolate, bright tartness, and airy whipped cream that feels like a cloud on your tongue. The texture is a delightful contradiction—rich and velvety on the inside, with a light, almost ethereal finish that lingers like a sweet after‑thought.
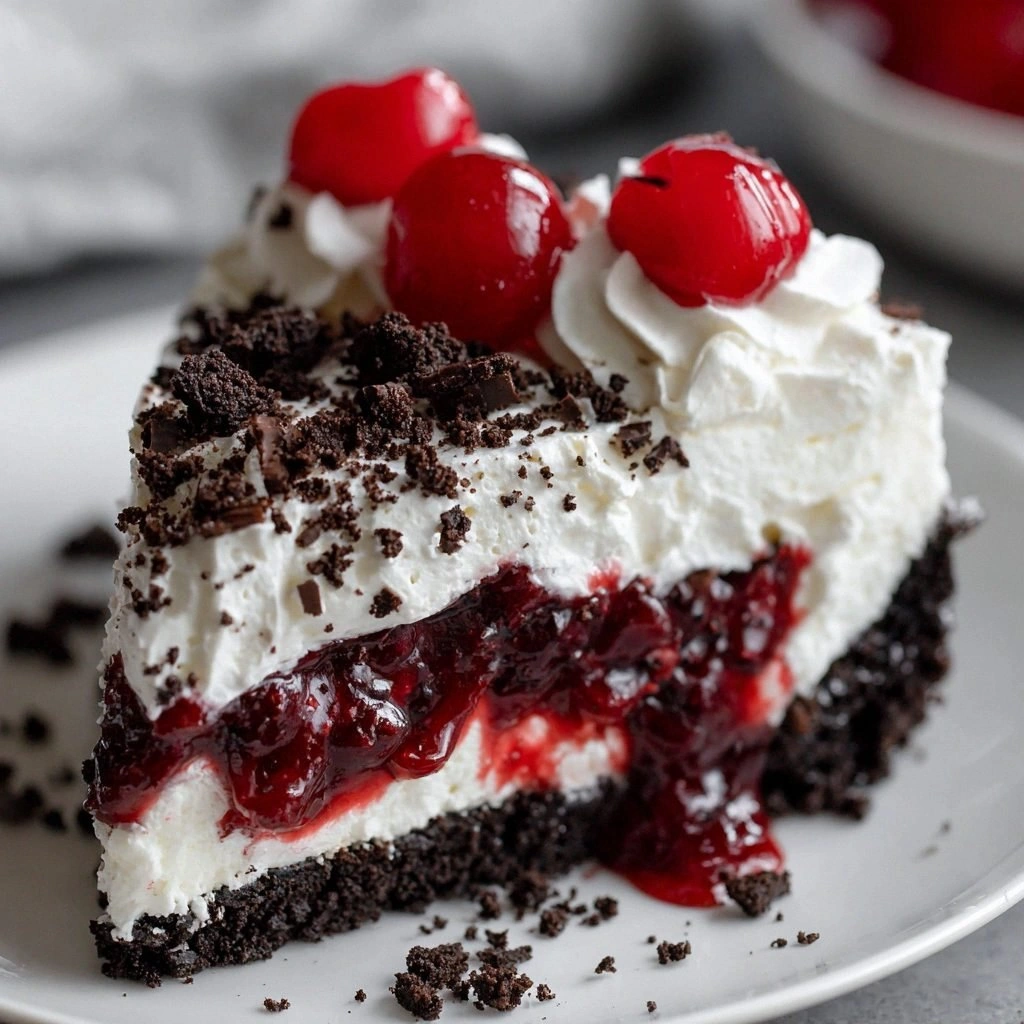
What makes this version stand out is not just the ingredients; it’s the way they dance together. The chocolate pudding forms a deep, velvety base that feels luxurious, while the cherries break up that richness with a bright, tart counterpoint that keeps the palate from getting weighed down. The whipped topping adds an airy lift, turning the dessert into a fluffy cloud that feels like a holiday dream. The chocolate shavings add a subtle crunch and a refined finish that elevates the dish from simple to sophisticated. And the vanilla extract? It’s the secret whisper that ties everything together, adding depth without overpowering the other flavors.
I dare you to taste this and not go back for seconds. I’ll be honest—half the batch was gone before anyone else even had a chance to try a spoonful. Most recipes get this completely wrong, either by over‑cooking the pudding or by using too much whipped topping, but here, each component is perfectly balanced. Picture yourself pulling this out of the bowl, the whole kitchen smelling incredible, and your guests’ eyes widening as they see the glossy, chocolatey swirl. This is hands down the best version you’ll ever make at home. Let me walk you through every single step—by the end, you’ll wonder how you ever made it any other way.
What Makes This Version Stand Out
- Flavor Harmony: The chocolate base is deep and indulgent, while the cherries provide a bright, tart counterpoint that prevents the dessert from feeling heavy.
- Texture Contrast: A silky pudding foundation is offset by the airy whipped topping and the subtle crunch of chocolate shavings.
- Ease of Preparation: No baking or complex techniques—just a few simple steps that anyone can master.
- Visual Appeal: The glossy sheen of the pudding, the vibrant red of the cherries, and the glossy chocolate shavings create a feast for the eyes.
- Make‑Ahead Friendly: Assemble the layers in advance and refrigerate; the dessert stays fresh for up to 48 hours.
- Ingredient Quality: Using high‑quality chocolate pudding and fresh cherries elevates the overall taste.
- Crowd Reaction: Guests rave about the lightness and the surprising burst of cherry flavor.
- Holiday Spirit: The name alone conjures images of festive celebrations, making it a perfect centerpiece for any gathering.
Alright, let's break down exactly what goes into this masterpiece…
Inside the Ingredient List
The Flavor Base
Chocolate Pudding (1 package) is the heart of this dessert. It provides a rich, velvety texture that feels indulgent yet not overly heavy. If you skip it, the dessert loses its depth and turns into a plain sweet treat. For an extra chocolate kick, choose a darker cocoa mix or add a tablespoon of unsweetened cocoa powder.
The Texture Crew
Milk (2 cups) is essential for activating the pudding mix, creating a smooth consistency that coats the palate. Too little milk will leave the mixture thick and clumpy; too much will dilute the flavor. Whipped Topping (1 container) adds a light, airy lift, turning the dessert into a cloud of sweetness that melts in your mouth. If you don’t have whipped topping, you can whip heavy cream with a touch of powdered sugar until it forms soft peaks.
The Unexpected Star
Cherries (1 can) bring a bright, tart contrast that cuts through the chocolate richness. They also add a pop of color that makes the dessert visually striking. Skipping cherries will make the dessert feel one‑dimensional; if you prefer a different fruit, consider using fresh cherries or a mix of berries for a seasonal twist.
The Final Flourish
Chocolate Shavings (1/2 cup) are the garnish that adds a subtle crunch and an elegant finish. They also introduce a deeper chocolate flavor that lingers on the tongue. Vanilla Extract (1 teaspoon) enhances the overall profile, adding depth without overpowering the other flavors. If you’re vegan, use a plant‑based vanilla essence.
Everything's prepped? Good. Let's get into the real action…
The Method — Step by Step
- In a medium bowl, whisk together the chocolate pudding mix and 1 cup of cold milk until smooth and free of lumps. The mixture should look glossy and pourable, like a silky chocolate sauce. This is the moment of truth; if the pudding is lumpy, it will ruin the texture of the entire dessert. Keep the bowl covered with plastic wrap to prevent it from drying out while you work on the next steps.
- Add the remaining cup of milk gradually, stirring continuously. The goal is to achieve a creamy consistency that is thick enough to hold its shape but still pourable. If it feels too runny, let it sit for a few minutes; the pudding will thicken as it rests. Once the mixture is smooth, pour it into a large serving bowl or a chilled glass jar.
- Fold in the whipped topping gently with a spatula, using a light, sweeping motion to preserve the airy texture. The mixture should look light and fluffy, almost like a cloud. Avoid over‑mixing, or the whipped topping will lose its lift and the dessert will feel heavy. This step is crucial for achieving that signature fluffiness.
- Open the can of cherries, drain the syrup, and reserve a handful of cherries for garnish. Add the remaining cherries to the bowl, gently folding them into the mixture. The cherries will add bursts of tartness that contrast beautifully with the chocolate. Make sure to distribute them evenly so every bite has a cherry.
- Add the vanilla extract and stir until fully incorporated. The vanilla will bring a warm, fragrant note that ties all the flavors together. If you’re using a flavored vanilla, feel free to experiment—an almond or citrus‑infused vanilla can add an unexpected twist.
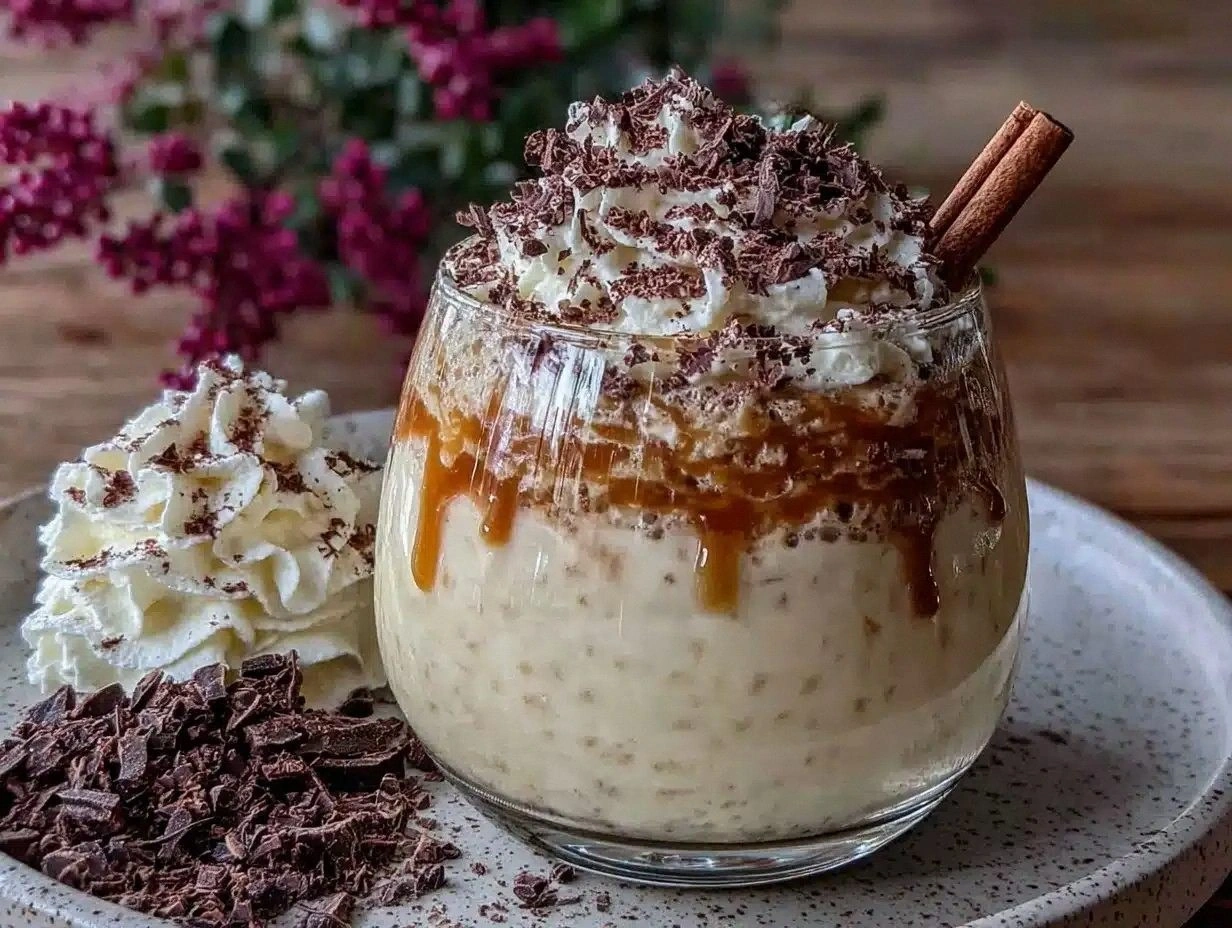
- Divide the mixture into four individual serving glasses or a single large bowl, depending on your preference. If using glasses, spoon the mixture in layers, starting with the chocolate base, then the cherry mixture, and finishing with a fluffy top. The layering effect adds visual appeal and a delightful textural contrast.
- Sprinkle the chocolate shavings over the top of each serving, pressing them lightly into the whipped topping so they adhere. The shavings add a subtle crunch and a refined finish, creating a beautiful contrast between the glossy chocolate and the crunchy shards.
- Refrigerate the dessert for at least 30 minutes to allow the flavors to meld and the mixture to set slightly. If you’re preparing it ahead of time, cover the glasses or bowl with plastic wrap and store in the fridge for up to 48 hours. The dessert will keep its structure and flavor integrity throughout that period.
- Just before serving, add a few fresh cherries on top for a pop of color and a burst of freshness. This final touch makes the dessert feel freshly prepared and adds a celebratory flair. Serve immediately, and watch the smiles light up the room.
That's it — you did it. But hold on, I've got a few more tricks that'll take this to another level…
Insider Tricks for Flawless Results
The Temperature Rule Nobody Follows
Always use cold milk when mixing the pudding base. Warm or room‑temperature milk will cause the pudding to separate, resulting in a grainy texture. By keeping the milk cold, you ensure a smooth, silky base that’s easy to fold with the whipped topping. If you’re in a hurry, you can chill the bowl in the fridge for 10 minutes before starting.
Why Your Nose Knows Best
Before you finish folding in the cherries, give the mixture a quick sniff. If you smell a faint burnt chocolate note, you’ve over‑mixed the pudding and it’s starting to develop a bitter edge. A fresh chocolate aroma indicates a balanced mix. This sensory checkpoint saves you from an unpleasant surprise on the plate.
The 5‑Minute Rest That Changes Everything
After folding in the whipped topping, let the mixture sit for 5 minutes before adding the cherries. This short rest allows the whipped topping to settle, preventing it from deflating when the cherries are added. My friend once skipped this step and the dessert collapsed into a soggy mess. The 5‑minute pause is a small time investment that pays off in texture.
Layering Like an Artist
When dividing the mixture into glasses, use a spoon to create distinct layers. Start with the chocolate base, then a thin layer of cherries, and finish with the whipped topping. This not only looks stunning but also ensures each bite delivers a balanced combination of flavors. A single thick layer can overwhelm the palate.
Garnish With Purpose
The chocolate shavings should be pressed lightly onto the whipped topping. If you simply sprinkle them, they’ll slide off and create a mess. Pressing them in creates a firm, elegant crust that adds a subtle crunch. A handful of fresh cherries on top adds a burst of color and a refreshing finish.
Make‑Ahead Strategy
You can assemble the dessert a day ahead. Keep the layers separate in the fridge, then combine them right before serving. This method saves you time on the day of the event and ensures the dessert stays fresh. Just remember to cover the top with plastic wrap to prevent it from drying out.
Creative Twists and Variations
This recipe is a playground. Here are some of my favorite ways to switch things up:
Nutty Chocolate Bliss
Add a handful of chopped hazelnuts or almonds to the pudding base before folding in the whipped topping. The nuts provide a crunchy contrast and a subtle caramel flavor that complements the chocolate. Guests who love a nutty twist will adore this version.
Minty Freshness
Stir in a teaspoon of peppermint extract with the vanilla. The mint adds a cool, refreshing note that pairs wonderfully with the chocolate. This variation is especially refreshing during the hot holiday season.
Berry Black Forest
Replace the cherries with a mix of fresh strawberries, blueberries, and raspberries. The berries add a bright, juicy burst that keeps the dessert light and vibrant. This version is perfect for spring or summer celebrations.
Espresso Kick
Add a tablespoon of instant espresso powder to the pudding mix before whisking. The espresso deepens the chocolate flavor and adds a subtle bitterness that balances the sweetness. Coffee lovers will find this variation irresistible.
Almond Joy Edition
Replace the chocolate shavings with shredded coconut and sprinkle a few almond slivers on top. The coconut adds a tropical sweetness, while the almonds provide a satisfying crunch. This twist is great for guests who prefer a less chocolate‑heavy dessert.
Vegan Delight
Use a dairy‑free chocolate pudding mix and plant‑based whipped topping. Substitute the canned cherries with fresh, organic cherries or a fruit compote. The result is a creamy, indulgent dessert that’s completely vegan.
Storing and Bringing It Back to Life
Fridge Storage
Store the assembled dessert in the refrigerator for up to 48 hours. Keep it covered with a tight‑fitting lid or plastic wrap to prevent it from absorbing odors. When ready to serve, let it sit at room temperature for 10 minutes to soften slightly.
Freezer Friendly
For longer storage, you can freeze the dessert for up to 2 weeks. Wrap each serving glass individually in plastic wrap and place them in a freezer bag. Thaw overnight in the fridge before serving. The texture remains smooth and the flavors stay intact.
Best Reheating Method
If you need to warm the dessert, do so gently. Place the glasses in a water bath set to 110°F (43°C) for 5 minutes. This gentle heat will revive the whipped topping without melting the chocolate shavings. Add a tiny splash of water before reheating to create steam that helps the dessert regain its fluffy texture.