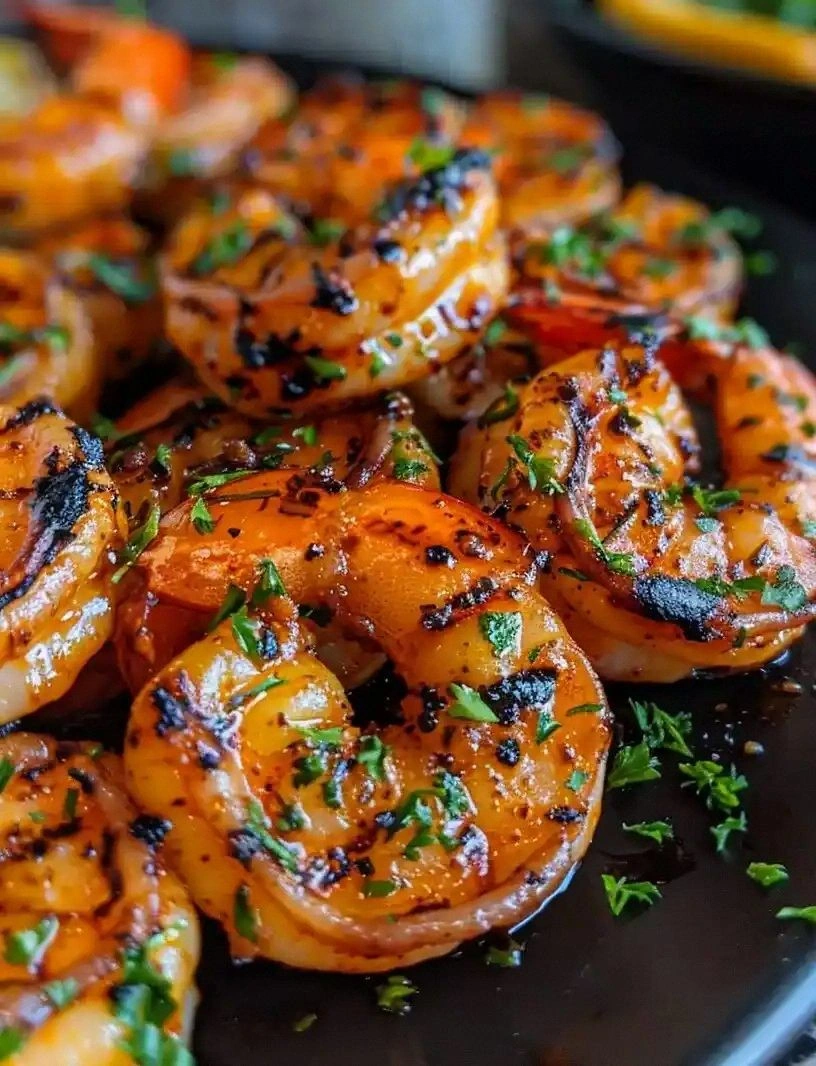
I still remember the night I tried to impress my sister with a fancy seafood dinner and ended up with a charred mess that could have been a modern art installation. The oven was set too high, the scallops were overcooked, and the sauce was a sad, watery drizzle. I stared at the blackened surface, feeling the sting of disappointment. But that disaster sparked a mission: to discover the ultimate broiled scallop recipe that would make my taste buds sing. I spent hours scouring cookbooks, tasting experimental batches, and refining every detail until I achieved that perfect balance of sear and tenderness.
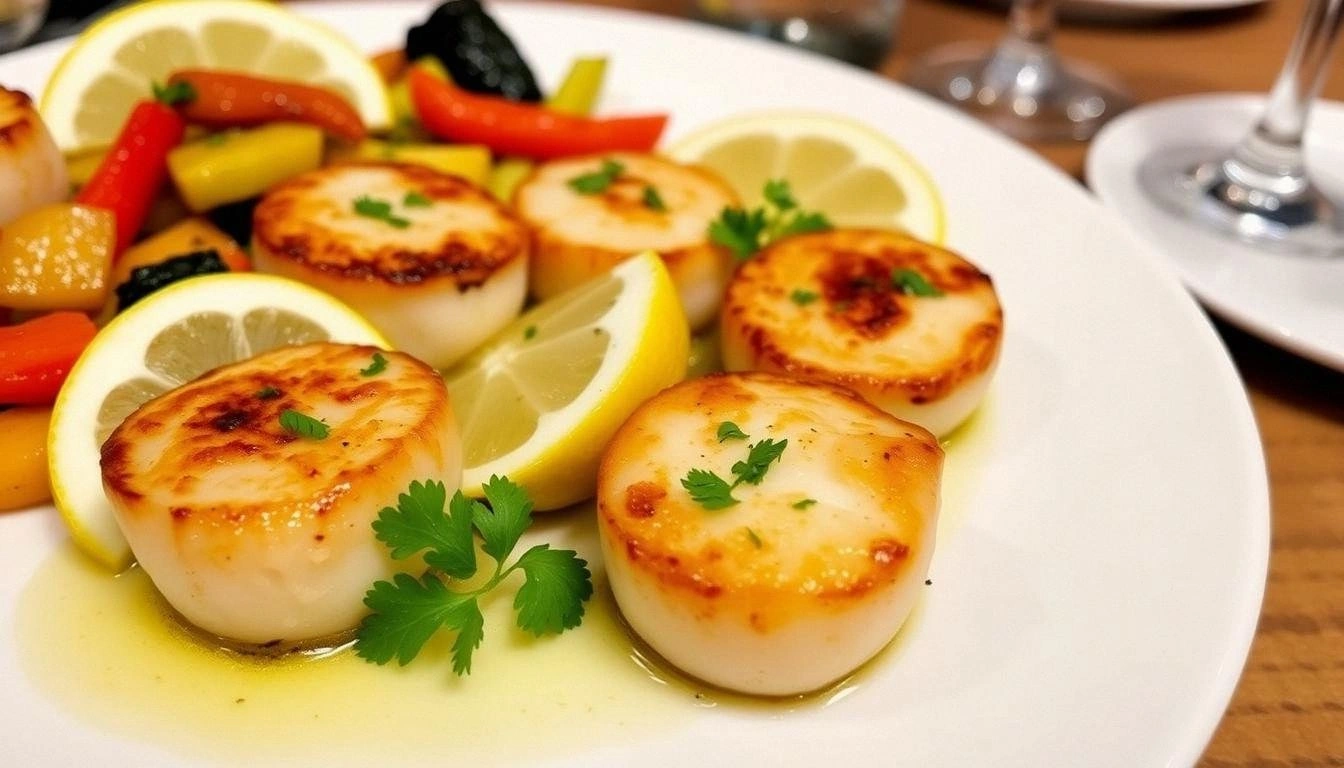
Picture this: the kitchen is filled with the sweet, briny scent of fresh scallops, a faint citrus tang from lemon, and the rich, buttery aroma rising from a sizzling pan. The sound is a gentle hiss as the butter bubbles, the gentle slap of a spatula, and the faint crackle of the grill. When you lift the first scallop, its flesh is firm yet yields to a gentle press, and the crust is a golden, slightly crisp shell that crackles like fine sand. The taste is a delicate, sweet seafood flavor, kissed by garlic, lemon, and a hint of pepper, with a buttery finish that lingers. The texture feels almost buttery, yet the center remains moist, creating a contrast that feels like a silky ribbon inside a crisp shell.
What sets this version apart is the meticulous balance of flavors and the precise technique that locks in moisture while creating a caramelized crust. Instead of the usual pan‑fry, I use a broiler to give the scallops a dramatic, even char that enhances their natural sweetness. The secret is a quick, high‑heat sear followed by a finish under the broiler that gives the edges a subtle, almost smoky crunch. I also incorporate a simple lemon‑garlic butter that coats each scallop like velvet, amplifying the oceanic taste without overpowering it. And I’ve refined the seasoning to a minimalistic approach that lets the scallop shine, using only salt, pepper, and a pinch of red‑pepper flakes for a hint of heat.
You’ll be surprised to learn that a tiny splash of white wine before broiling can elevate the flavor profile, adding a subtle acidity that brightens the dish. I’ll also reveal a quick trick to keep the scallops from drying out, even if you’re on a tight schedule. By the end of this guide, you’ll wonder how you ever cooked scallops any other way. Let me walk you through every single step — by the end, you’ll wonder how you ever made it any other way.
What Makes This Version Stand Out
- Flavor: The buttery, citrus‑kissed glaze gives the scallops a silky richness that feels like a summer breeze on your tongue, while the subtle heat from red‑pepper flakes adds a playful bite that keeps you coming back for more.
- Texture: A perfectly seared exterior that cracks with a golden crisp, paired with an interior that melts in your mouth, creates a dynamic mouthfeel that feels like a symphony of textures.
- Speed: In under twenty minutes, you can transform simple scallops into a show‑stopping entrée, making this recipe a lifesaver for dinner parties, busy weeknights, or last‑minute date nights.
- Minimalism: With only eight essential ingredients, the dish stays true to the scallop’s natural flavor without the distraction of heavy sauces or complex marinades.
- Versatility: The core technique works with other seafood or even thin cuts of steak, allowing you to adapt the recipe to what’s on hand or to suit your taste preferences.
- Crowd‑pleaser: Friends and family rave about the caramelized edges and buttery finish, often asking for the recipe after a single bite.
- Presentation: The bright lemon zest and fresh parsley garnish transform a simple plate into a vibrant, Instagram‑ready masterpiece.
Alright, let's break down exactly what goes into this masterpiece...
Inside the Ingredient List
The Flavor Base
Fresh sea scallops are the heart of this dish, offering a sweet, briny flavor that is amplified by the high‑heat broiler. Choose firm, plump scallops with a clean, milky appearance; any hint of off‑odor or discoloration signals spoilage. Skipping the scallops entirely turns this into a butter‑garlic exercise, and the dish loses its star quality.
The Texture Crew
Unsalted butter and olive oil form the glossy coating that locks in moisture. Butter provides a rich, velvety finish, while olive oil lowers the smoke point slightly, allowing for a gentler sear that prevents charring. If you omit butter, you’ll lose the silky mouthfeel and the subtle caramelization that makes the crust pop.
The Unexpected Star
Lemon zest and juice add a bright, citrusy punch that cuts through the richness of the butter. The zest contains aromatic oils that elevate the overall flavor profile, while the juice provides acidity that balances the sweetness. Skipping the lemon would leave the dish feeling flat and overly buttery.
The Final Flourish
Fresh parsley, a pinch of salt, and freshly ground black pepper finish the dish with a burst of green freshness and a hint of savory depth. These simple seasonings let the scallop shine without overpowering it. If you skip the herbs, the dish loses its bright, fresh finish.
Everything's prepped? Good. Let's get into the real action...
The Method — Step by Step
- Preheat your oven’s broiler to the highest setting and position the rack so that the scallops will be about 2 inches from the heat source. This proximity ensures an even, rapid sear that caramelizes the exterior while keeping the interior tender. While the oven warms, arrange a sheet of parchment or a silicone baking mat on a broiler pan to catch any drippings; this keeps cleanup a breeze and prevents the pan from smoking.
- Pat the scallops dry with a paper towel, then season both sides with a pinch of salt and freshly ground black pepper. The salt draws out moisture, creating a dry surface that allows the butter to cling and the crust to form. If you like a hint of heat, sprinkle a light pinch of red‑pepper flakes across the scallops; the spice will intensify during broiling.
- In a small saucepan, melt the butter over medium heat until it foams, then add the minced garlic and cook for 30 seconds until fragrant. The garlic releases its oils into the butter, infusing the entire dish with a subtle, aromatic depth. Be careful not to let the garlic brown, or it will taste bitter and overpower the delicate scallop flavor.
- Brush each scallop generously with the garlic‑butter mixture, then sprinkle with lemon zest and a drizzle of olive oil. The oil helps the butter spread evenly and contributes a silky sheen to the crust. This step also ensures the lemon’s bright oils are evenly distributed across the surface, setting the stage for a vibrant finish.
- Place the scallops on the broiler pan in a single layer, ensuring they don’t touch. This spacing allows the hot air to circulate freely around each scallop, promoting even cooking and a crisp exterior. If you notice any crowding, rearrange them as soon as the first batch finishes.
- Broil for 3 to 4 minutes on the first side, then flip carefully with tongs and broil for an additional 2 to 3 minutes on the other side. The goal is a golden crust that’s slightly charred but not blackened. Watch the scallops closely; the high heat can burn them in seconds if left unattended.
- Squeeze fresh lemon juice over the scallops and sprinkle chopped parsley on top. The citrus adds a zesty brightness that cuts through the buttery richness, while the parsley provides a pop of green color and a fresh herbal note. This finishing touch transforms the dish from simple to spectacular.
- Transfer the scallops to a serving platter, drizzle any remaining butter‑garlic mixture over them, and garnish with extra parsley if desired. The presentation is as important as the flavor; a neat arrangement with a sprinkle of herbs makes the dish look as good as it tastes.
That's it — you did it. But hold on, I've got a few more tricks that'll take this to another level...
Insider Tricks for Flawless Results
The Temperature Rule Nobody Follows
Many cooks assume a lower broiler setting is safer, but the trick to a perfect crust is to use the highest heat available. This intense heat sears the surface in seconds, locking in juices and creating a caramelized shell. If you’re unsure, test a small piece of bread first; if it browns quickly, you’re ready to broil the scallops.
Why Your Nose Knows Best
The aroma of butter sizzling and garlic cooking is a reliable indicator that the flavor base is developing correctly. If the smell feels flat or overly buttery, the butter may be overheating. Trust your nose; a fragrant, golden scent means the scallops are on the right track.
The 5‑Minute Rest That Changes Everything
After broiling, let the scallops rest on a warm plate for five minutes. This brief pause allows the juices to redistribute, ensuring each bite is moist and tender. A friend once skipped this step and ended up with scallops that felt dry and rubbery—don’t make that mistake.
The Butter Balance
Using too much butter can drown the delicate flavor of scallops, while too little results in a dry exterior. Aim for a ratio of one tablespoon of butter per scallop; this creates a luscious coating without overwhelming the seafood’s natural sweetness.
The Citrus Twist
A splash of white wine or a squeeze of lime juice before broiling adds a subtle acidity that brightens the dish. This small addition cuts through the richness of the butter and creates a balanced, refreshing finish that feels like a light summer breeze.
The Quick Clean‑Up
After cooking, rinse the broiler pan with warm water and a drop of dish soap. The butter drips will solidify, making them easy to scrape off. A quick clean‑up means you can enjoy more time with guests instead of scrubbing the kitchen.
Creative Twists and Variations
Smoky Chipotle Broiled Scallops
Replace the parsley with chopped cilantro and add a teaspoon of chipotle powder to the butter mixture. The smoky heat pairs beautifully with the sweet scallop, creating a flavor profile reminiscent of a summer barbecue. This version is perfect for fans of bold, smoky flavors.
Creamy Alfredo Broiled Scallops
Serve the scallops over a bed of fettuccine tossed in a light Alfredo sauce. The creamy sauce complements the buttery crust, while the scallops add a luxurious seafood element. Guests who love pasta will adore this decadent twist.
Mediterranean Herb Broiled Scallops
Swap parsley for a blend of oregano, thyme, and rosemary, then drizzle a splash of extra‑virgin olive oil over the finished dish. The Mediterranean herbs give the scallops a fragrant, earthy depth that transports you to the coast of Greece. Ideal for a brunch or a light dinner.
Sweet Pineapple Broiled Scallops
Add a handful of diced pineapple to the butter mixture for a tropical sweetness. The caramelized pineapple caramelizes further under the broiler, creating a sweet glaze that balances the savory scallop. This version is a hit with those who love sweet‑savory combinations.
Spicy Sriracha Broiled Scallops
Stir a tablespoon of sriracha into the butter before brushing it on the scallops. The sriracha adds a fiery kick that cuts through the richness, while the garlic and lemon keep the dish bright. A spicy variation that satisfies those who crave heat.
Asian Ginger Broiled Scallops
Melt butter with grated fresh ginger and a splash of soy sauce. The ginger’s warm, peppery flavor pairs wonderfully with the scallop’s natural sweetness, creating an Asian-inspired twist that feels both exotic and comforting. Great for a dinner that needs a little international flair.
Storing and Bringing It Back to Life
Fridge Storage
Store leftover scallops in an airtight container in the refrigerator for up to 2 days. Keep the butter glaze separate; reheat the scallops gently in a skillet with a splash of water to re‑introduce moisture. Avoid microwaving, as it can toughen the delicate flesh.
Freezer Friendly
Freeze scallops in a single layer on a parchment‑lined tray, then transfer to a freezer bag once solid. They stay best for up to 3 months. When ready to use, thaw overnight in the refrigerator and reheat in a skillet with a bit of olive oil, not water, to preserve the texture.
Best Reheating Method
Reheat in a preheated oven at 350°F for 5 minutes, or until warmed through. If you prefer a crispier exterior, finish with a quick broil for 30 seconds. Add a tiny splash of water or broth before reheating; this steams the scallops back to perfection without drying them out.