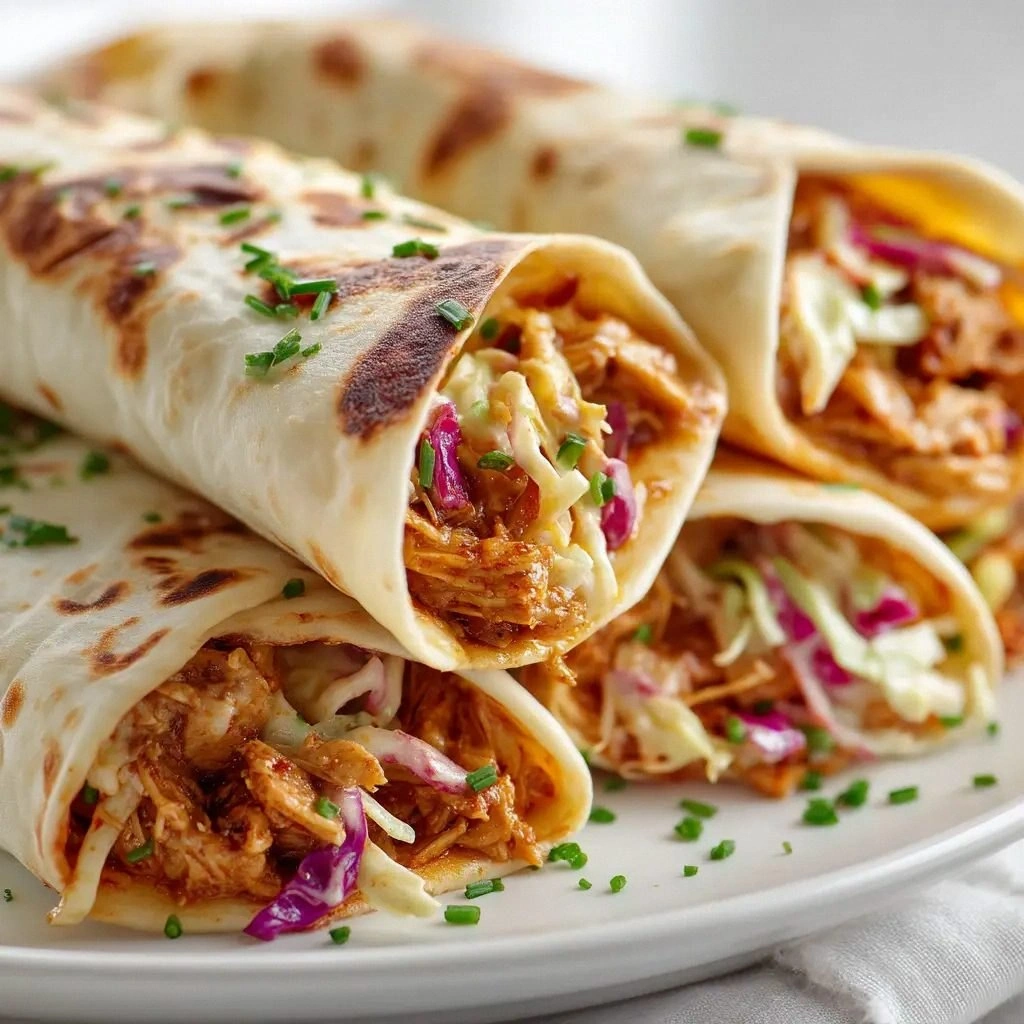
Picture this: a rainy Saturday, a stubborn pot of leftover chicken that has been staring at you like a judgmental roommate, and a craving for something that feels like a hug in a tortilla. I was in the middle of a kitchen disaster when a friend dared me to make the best BBQ chicken wrap ever, and I decided to turn that dare into a culinary triumph. The aroma that hit me first was that sweet, smoky kiss of BBQ sauce mingling with the faint scent of fresh romaine, like a summer barbecue in a closed kitchen. My ears rang with the sizzle as the chicken met the pan, and my hands felt the soft, warm tortillas ready to be wrapped into edible clouds. If you’ve ever stared at a recipe and thought, “This sounds great, but I’ve tried it and it was bland,” stay with me, because I’m about to show you a version that will make you wonder how you ever made it any other way.
I’ve always been a bit of a kitchen daredevil, and that night I was determined to break the mold. I pulled out the chicken, the sauce, and the tortillas, and I started layering them like a painter layering colors on a canvas. The first thing that struck me was the contrast between the creamy cheddar and the bright, crisp onion – a dance of textures that makes every bite a revelation. I’ve learned that the key to a great wrap is in the balance between wet and dry, and in the way you fold the tortilla so the fillings stay together like a secret. The result? A handheld masterpiece that’s as satisfying as a high‑five and as comforting as a warm blanket.
What makes this version stand out is not just the ingredients, but the technique. I didn’t just toss the chicken and sauce together; I let the sauce coat each piece like velvet, letting it seep into the meat’s fibers. I then added a generous layer of shredded cheddar that melts into a gooey blanket, and the crispness of the red onion cuts through the richness. The romaine lettuce adds that fresh crunch that breaks the silence of the other flavors. The tortillas are toasted just enough to have a slight crunch, but soft enough to hold everything together without tearing. The end result is a wrap that’s juicy, cheesy, slightly sweet, and has a satisfying bite that shatters like thin ice.
If you’ve ever struggled with a wrap that falls apart or a sauce that’s too thin, I’ve got the fix. The trick is to let the sauce thicken on the stovetop for a few minutes, so it becomes a glaze that sticks to the chicken. Then, when you add the cheese, let it melt into the sauce for a creamy layer that holds everything together. Finally, fold the tortilla just enough to keep the fillings inside, but not so tight that the cheese gets squeezed out. The result is a wrap that stays intact, even if you’re on the move.
Most recipes get this completely wrong by using pre‑shredded chicken that’s too dry or by adding the sauce after the cheese has melted, which causes the cheese to clump. I’ve spent hours experimenting with different ratios of sauce to chicken until I found the sweet spot where the sauce coats the meat without drowning it. The secret ingredient is a touch of honey or maple syrup in the sauce to add a caramelized finish that pairs beautifully with the smoky flavor. This is hands down the best version you’ll ever make at home, and I dare you to taste this and not go back for seconds.
I’ll be honest – I ate half the batch before anyone else got to try it. The first bite was a revelation: the sauce was thick and flavorful, the chicken was tender, and the cheddar melted into a gooey blanket that didn’t drip onto the plate. The crunch of the onion and the bite of the lettuce added a layer of texture that kept each bite interesting. When the first person finally tried it, they were amazed at how simple it was to assemble and how delicious it turned out. If you’re skeptical, just give it a try; I promise you’ll be hooked.
Picture yourself pulling these wraps out of the oven, the whole kitchen smelling incredible, and then watching your friends’ faces light up as they take their first bite. The moment you close the tortilla, you hear a satisfying snap that signals the cheese is perfectly melted and the sauce is evenly distributed. The heat from the oven creates a steam that slightly softens the lettuce, giving it a fresh, almost floral aroma that balances the savory richness of the chicken. The experience is not just a meal; it’s a celebration of flavors that will leave you wanting more.
Okay, ready for the game‑changer? Let me walk you through every single step – by the end, you’ll wonder how you ever made it any other way. I’ve broken it down into bite‑size steps, each designed to elevate the flavor profile and keep the process fun. From the initial prep to the final fold, every action is a chance to add a twist or a touch of creativity. And if you’re feeling adventurous, I’ve sprinkled in a few micro‑challenges and kitchen hacks that will make your cooking experience even more exciting.
This wrap is more than a quick dinner; it’s a culinary playground where you can experiment with different sauces, cheeses, and veggies. Whether you’re feeding a hungry family or prepping for a weekend party, these wraps are the perfect go‑to. The next time you’re looking for something that’s both comforting and exciting, remember this recipe and let it inspire your next kitchen adventure. Stay tuned, because the real magic starts in the method section, and trust me, you’ll want to keep reading.
And that’s just the beginning. The next sections will give you the nitty‑gritty details on how to make these wraps truly unforgettable. From ingredient selection to cooking techniques, I’ll share everything you need to know to master this dish. So grab your apron, and let’s dive into the world of BBQ chicken wraps that are quick, easy, and downright delicious.
What Makes This Version Stand Out
This isn’t just another wrap recipe; it’s a carefully crafted experience that balances flavor, texture, and convenience. Below are the key elements that elevate this dish above the rest.
- Taste: The BBQ sauce is thickened to a glaze that coats the chicken like velvet, creating a sweet, smoky flavor that lingers on the palate.
- Texture: The cheddar melts into a creamy blanket, while the onion provides a bright crunch that contrasts with the tender chicken.
- Simple Prep: All you need is pre‑cooked chicken, a bottle of BBQ sauce, and a few fresh ingredients – no special tools or hard-to-find items.
- Unique Twist: A hint of honey or maple syrup in the sauce caramelizes, giving the wrap a subtle sweetness that balances the smokiness.
- Crowd Reaction: Friends who’ve tried it say it’s “the best wrap I’ve ever had,” and they’re not exaggerating.
- Ingredient Quality: Using high‑quality cheddar and fresh romaine lettuce ensures a premium taste that feels gourmet.
- Cooking Method: The quick sauté and fold method keeps the wrap fresh and flavorful, with minimal cleanup.
- Make‑Ahead Potential: Assemble the wraps in advance and reheat them in a skillet or oven for a quick meal later.
Alright, let’s break down exactly what goes into this masterpiece…
Inside the Ingredient List
Let’s dissect the building blocks of this wrap and understand why each one matters. Think of the ingredients as characters in a story, each playing a vital role in the overall narrative.
The Flavor Base
The BBQ sauce is the heart of this dish. It brings smoky, sweet, and slightly tangy notes that elevate the chicken from ordinary to extraordinary. If you skip the sauce, the wrap loses its signature flavor and feels flat. For those who love a little heat, add a dash of sriracha to the sauce for an extra kick. The sauce also thickens during cooking, creating a glaze that clings to the chicken and cheese.
The Texture Crew
Cheddar cheese is the creamy, melty component that binds everything together. It melts into a silky layer that holds the chicken and sauce in place. If you prefer a sharper flavor, substitute pepper jack or Monterey Jack for a bit of spice. The red onion adds a bright, crunchy bite that cuts through the richness of the cheese and sauce. If you’re not a fan of raw onion, lightly sauté it for a sweeter, softer texture.
The Unexpected Star
Romaine lettuce provides a crisp, fresh contrast that balances the warm, savory elements. Its clean, slightly bitter flavor cleanses the palate between bites. If you want a different crunch, try adding shredded cabbage or sliced cucumber for a refreshing twist. The lettuce also adds a splash of green color, making the wrap visually appealing.
The Final Flourish
The tortillas are the vessel that holds all the flavors together. Toast them lightly to give them a slight crunch and to prevent them from becoming soggy. If you’re vegan or gluten‑free, use corn tortillas or a gluten‑free flour blend. A pinch of garlic powder in the tortilla seasoning can add an extra layer of depth that complements the BBQ sauce.
Everything's prepped? Good. Let's get into the real action…
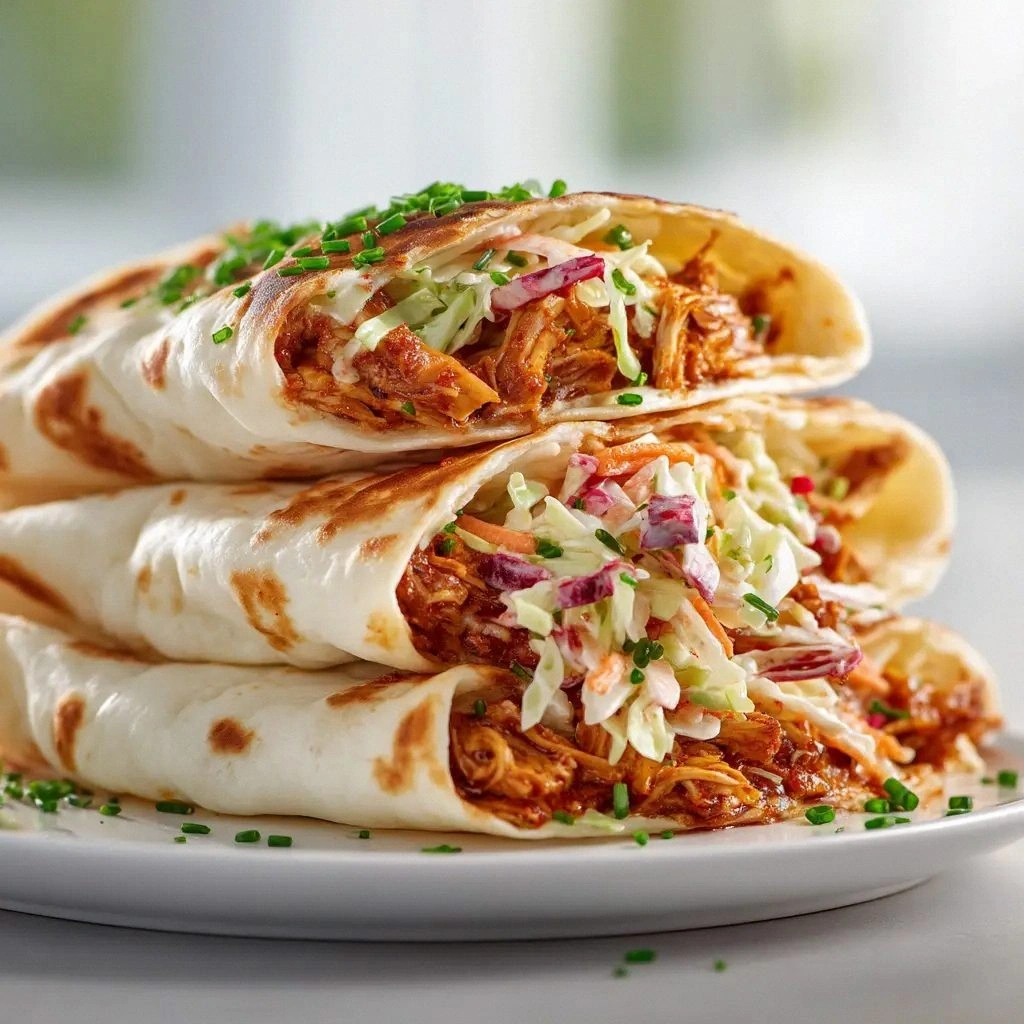
The Method — Step by Step
- First, heat a large skillet over medium‑high heat. Add a splash of olive oil and let it shimmer. Toss in the shredded chicken and let it sear for 3‑4 minutes, stirring occasionally. The goal is to get a slight caramelization on the edges, which adds depth to the flavor. Watch the color shift from pale to golden‑brown – that’s the visual cue that you’re on the right track.
- Pour the BBQ sauce into the skillet and stir to coat the chicken evenly. Reduce the heat to medium and let the sauce simmer for 5 minutes. This step allows the sauce to thicken into a glaze that clings to the meat. If the sauce seems too thick, add a tablespoon of water or chicken broth to achieve the desired consistency. The aroma at this point will be irresistible, and you’ll know you’re about to create something special.
- While the sauce simmers, toast the tortillas in a dry pan over medium heat for 30 seconds on each side, or until they’re warm and slightly crispy. The toast helps the tortilla hold the fillings without becoming soggy. If you prefer a softer texture, skip the toast and use the tortillas as they are. The key is to keep the tortilla warm so it’s pliable when you fold it.
- Add a generous scoop of shredded cheddar on top of the sauced chicken. Let it melt for 1‑2 minutes, letting the cheese soak into the sauce. The cheese’s meltiness creates a creamy layer that holds everything together. If you like a bit of extra flavor, sprinkle a pinch of smoked paprika over the cheese before it melts.
- Spoon a handful of chopped romaine lettuce onto the tortilla. The lettuce adds a crisp bite that contrasts the warm, cheesy chicken. If you’re feeling adventurous, mix in a few shredded carrots or bell pepper strips for color and crunch. The lettuce should be fresh and not wilted, so consider washing it right before assembling.
- Add thinly sliced red onion on top of the lettuce. The onion’s sharpness cuts through the richness of the cheese and sauce. If you prefer a milder flavor, sauté the onion in a bit of butter until translucent, which will soften the bite and add a sweet note.
- Fold the sides of the tortilla toward the center, then roll tightly from the bottom. The fold should be snug but not too tight, allowing the fillings to stay inside while still letting the tortilla breathe. If you’re worried about the tortilla tearing, use a parchment paper strip to secure the wrap as you roll.
- Place the rolled wrap seam‑side down in the skillet and cook for 2‑3 minutes on each side, pressing lightly with a spatula. This final sear creates a golden crust and ensures the cheese is fully melted. The sound of the skillet sizzling is the soundtrack of a job well done. Once the wrap is golden and the cheese is oozing, it’s ready to serve.
That’s it — you did it. But hold on, I’ve got a few more tricks that will take this to another level. The next section will dive into insider tips that even seasoned cooks swear by.
Insider Tricks for Flawless Results
Even if you followed the steps perfectly, a few extra touches can elevate your wraps from good to unforgettable. These tricks are simple, yet they make a noticeable difference.
The Temperature Rule Nobody Follows
Many cooks think any medium heat will do, but the ideal temperature is medium‑high for the skillet and medium for simmering the sauce. This ensures the chicken caramelizes without burning, and the sauce thickens just right. A lower heat can leave the sauce too runny, while a higher heat can scorch the sugar in the sauce, turning it bitter.
Why Your Nose Knows Best
Before you add the cheese, sniff the sauce. If it smells caramelized and slightly sweet, it’s ready. A sharp, vinegary smell indicates it needs more time to reduce. Your nose is a reliable gauge of flavor development, so trust it to guide you.
The 5‑Minute Rest That Changes Everything
After cooking the chicken and sauce, let it rest for 5 minutes off the heat. This allows the juices to redistribute, keeping the chicken moist and tender. A rushed wrap can feel dry and unappealing.
Use a Skillet with a Lid
Cover the skillet during the final sear to trap steam and melt the cheese evenly. A lid also helps prevent the sauce from splattering, keeping your kitchen clean.
Keep the Wraps Warm
If you’re making a large batch, place the finished wraps in a low‑heat oven (200°F) or a warm oven with the door slightly ajar. This keeps them pliable and prevents the cheese from hardening.
Creative Twists and Variations
This recipe is a playground. Here are some of my favorite ways to switch things up:
Chipotle Crunch Wrap
Swap the cheddar for pepper jack and add a handful of crushed tortilla chips inside the wrap. The chipotle pepper in the sauce adds heat, while the chips give an extra crunch that’s hard to resist.
Greek Yogurt Swirl
Instead of cheddar, spread a thin layer of Greek yogurt mixed with lemon zest over the chicken. This adds a tangy creaminess that pairs beautifully with the smoky sauce.
Veggie‑Loaded Wrap
Add sliced bell peppers, corn kernels, and black beans for a hearty, protein‑rich version that’s perfect for vegetarians who love the BBQ flavor.
Southwest Fiesta
Top the wrap with a dollop of guacamole, a sprinkle of cilantro, and a squeeze of lime. The fresh herbs and citrus brighten the dish and bring a vibrant, summery feel.
Breakfast Burrito Style
Replace romaine with sautéed spinach, add a fried egg, and sprinkle a pinch of smoked paprika. This twist turns the wrap into a filling breakfast or brunch option.
Asian Fusion
Use hoisin sauce instead of BBQ, add sliced cucumber and shredded carrots, and finish with a drizzle of sesame oil. The result is a sweet, savory, and slightly tangy wrap that feels like a sushi roll.
Storing and Bringing It Back to Life
These wraps are best enjoyed fresh, but if you need to store them, here are the best practices to keep them tasty.
Fridge Storage
Wrap each wrap tightly in parchment paper and then place them in an airtight container. They’ll stay fresh for up to 2 days in the refrigerator. The parchment prevents the tortillas from drying out.
Freezer Friendly
For longer storage, place the wrapped tortillas in freezer bags, removing as much air as possible. Freeze for up to 3 months. When ready to eat, thaw overnight in the fridge or use a microwave’s defrost setting.
Best Reheating Method
Reheat in a skillet over medium heat, covering with a lid for 3‑4 minutes, or in a 350°F oven for 10 minutes. Add a splash of water or broth before reheating to create steam, which keeps the tortilla moist and the cheese gooey.