Picture this: you’re standing in a kitchen that smells like burnt toast and stale coffee, the kind of morning that makes you wish you could just skip breakfast altogether. Then, a friend texts you a link to a recipe that promises “fluffy soda farls” that will turn your bland morning routine into a carnival of flavor. I stared at the screen, my skepticism as thick as the batter that was about to form. That’s when the kitchen disaster of the decade began: a pan of over‑cooked pancakes that were as dry as a desert, and the realization that my breakfast had never truly been an adventure.
I was determined to find a solution that was quick, fluffy, and somehow didn’t require a Michelin‑star kitchen. The first time I tried this soda farl recipe, I felt the batter rise like a tiny balloon in my skillet, the scent of buttermilk and baking soda filling the room. The sound of the sizzle was a metronome of anticipation, each bubble a promise of lightness. I tasted the first bite and the world seemed to pause, as if the universe had finally given me a reason to smile in the middle of a chaotic morning. If you’ve ever felt the disappointment of a breakfast that just doesn’t hit the mark, this is the antidote you’ve been missing.
What sets this version apart from every other recipe you’ve seen is the deliberate balance of chemistry and comfort. The soda, or bicarbonate of soda, reacts with the acidity of buttermilk, creating tiny pockets of air that give the farls their signature cloud‑like texture. The flour is lightly beaten with the soda, so the leavening is distributed evenly, preventing dense pockets. The batter is poured thickly, allowing each farl to develop a golden crust while remaining soft inside. I dare you to taste this and not go back for seconds; it’s a game‑changer that will rewrite your breakfast narrative.
And here’s the kicker: the secret ingredient isn’t a fancy spice or exotic flavor, but a simple technique—letting the batter rest for a minute before cooking. That pause allows the gluten to relax and the soda to fully activate, resulting in a farl that’s airy yet sturdy. I’ve spent years experimenting with batters, and this one is the most reliable, the most forgiving, the most delicious. Let me walk you through every single step—by the end, you’ll wonder how you ever made it any other way.
What Makes This Version Stand Out
- Flavor: The subtle tang of buttermilk pairs with the gentle sweetness of sugar, creating a flavor profile that’s both comforting and sophisticated. It’s like a warm hug in a bowl.
- Texture: The soda leavens the batter, producing farls that are fluffy inside with a crisp, caramelized exterior. The result feels like biting into a cloud that snaps pleasantly.
- Simplicity: Five ingredients, no pre‑mixes, and a single skillet. This recipe is the ultimate minimalist, perfect for busy mornings or lazy weekends.
- Uniqueness: Soda farls are rarely found in mainstream breakfast menus, giving you a conversation starter that’s both delicious and intriguing.
- Crowd Reaction: Guests rave about the airy texture and savory-sweet balance. Even the pickiest eaters can’t resist a second bite.
- Ingredient Quality: Using plain flour and buttermilk ensures a clean taste, while the soda is a pantry staple that adds lift without altering flavor.
- Cooking Method: The skillet technique locks in moisture, producing a golden crust that’s impossible to ignore.
- Make‑Ahead Potential: The batter can be prepared ahead and refrigerated for up to 24 hours, making it a perfect grab‑and‑go option.
Alright, let's break down exactly what goes into this masterpiece…
Inside the Ingredient List
The Flavor Base
Plain flour is the silent hero, providing the structure that holds the batter together. Its neutral taste lets the other flavors shine, and its fine texture ensures a smooth batter. Skipping it would leave you with a lumpy, uncoordinated mix that won’t rise properly. A good quality all‑purpose flour with a protein content around 10–12% works best, giving the farls the right chew without being too dense.
The Texture Crew
Bicarbonate of soda is the leavening agent that turns this batter into a cloud. When it meets the acidity of buttermilk, it releases carbon dioxide, creating tiny pockets that expand during cooking. If you omit the soda, the farls will be flat and heavy, lacking that signature lift. For a slightly different lift, you can replace soda with baking powder, but the flavor will shift subtly.
The Unexpected Star
Buttermilk is the secret to both flavor and tenderness. Its acidity not only reacts with soda but also tenderizes the flour proteins, resulting in a softer crumb. If you don’t have buttermilk on hand, you can create a quick substitute by adding a tablespoon of lemon juice to a cup of milk and letting it sit for five minutes. This will mimic the acidity needed for the soda reaction.
The Final Flourish
Salt and sugar balance the batter’s flavor profile. Salt enhances the overall taste, while sugar adds a hint of sweetness that caramelizes on the surface. Extra flour is essential for dusting the skillet and preventing sticking, ensuring each farl has a crisp edge. Skipping the extra flour will result in a sticky pan that’s difficult to flip.
Everything’s prepped? Good. Let’s get into the real action…
The Method — Step by Step
- In a large bowl, whisk together the plain flour and bicarbonate of soda until they’re fully blended. The goal is to distribute the soda evenly so every bite gets that airy lift. While whisking, you’ll notice a faint, almost metallic scent of soda—this is a good sign that the leavening is ready. Keep the mixture dry; adding liquid too early can cause clumping.
- Add the salt, sugar, and buttermilk to the dry mixture. Stir gently with a spatula until the batter is smooth but still a little lumpy. Over‑mixing will develop gluten and make the farls tough. The batter should have a thick, pourable consistency, similar to pancake batter.
- Let the batter rest for one minute. This short pause allows the soda to fully activate and the gluten to relax, ensuring a lighter final product. During this time, you can preheat your skillet to medium‑low heat and dust it with a thin layer of extra flour.
- Heat a non‑stick skillet over medium‑low heat and lightly brush with a neutral oil or butter. The skillet should be hot enough that a drop of batter sizzles immediately but not so hot that it burns. This temperature is crucial for a golden crust.
- Using a 1/4‑cup measure, pour batter onto the skillet, spacing each farl about 2 inches apart. The batter will spread slightly, forming a thick, round shape. The edges should begin to set after a minute or two, indicating that the bottom is ready for flipping.
- Cook the farl for 3–4 minutes on the first side, until the bottom is golden brown and the surface shows small bubbles. The smell of toasted flour and buttermilk should fill the room, creating an irresistible aroma. This is the moment of truth—watch the edges pull away from the skillet.
- Flip carefully with a spatula and cook the second side for another 2–3 minutes. The farl should be fluffy inside and crisp on the outside. If you’re cooking multiple farls, rotate the pan to maintain even heat distribution.
- Transfer the cooked farl to a plate lined with paper towels to absorb excess oil. Repeat the process for the remaining batter, dusting the skillet with flour as needed. The final farls should be airy, with a golden crust that cracks slightly when you press them.
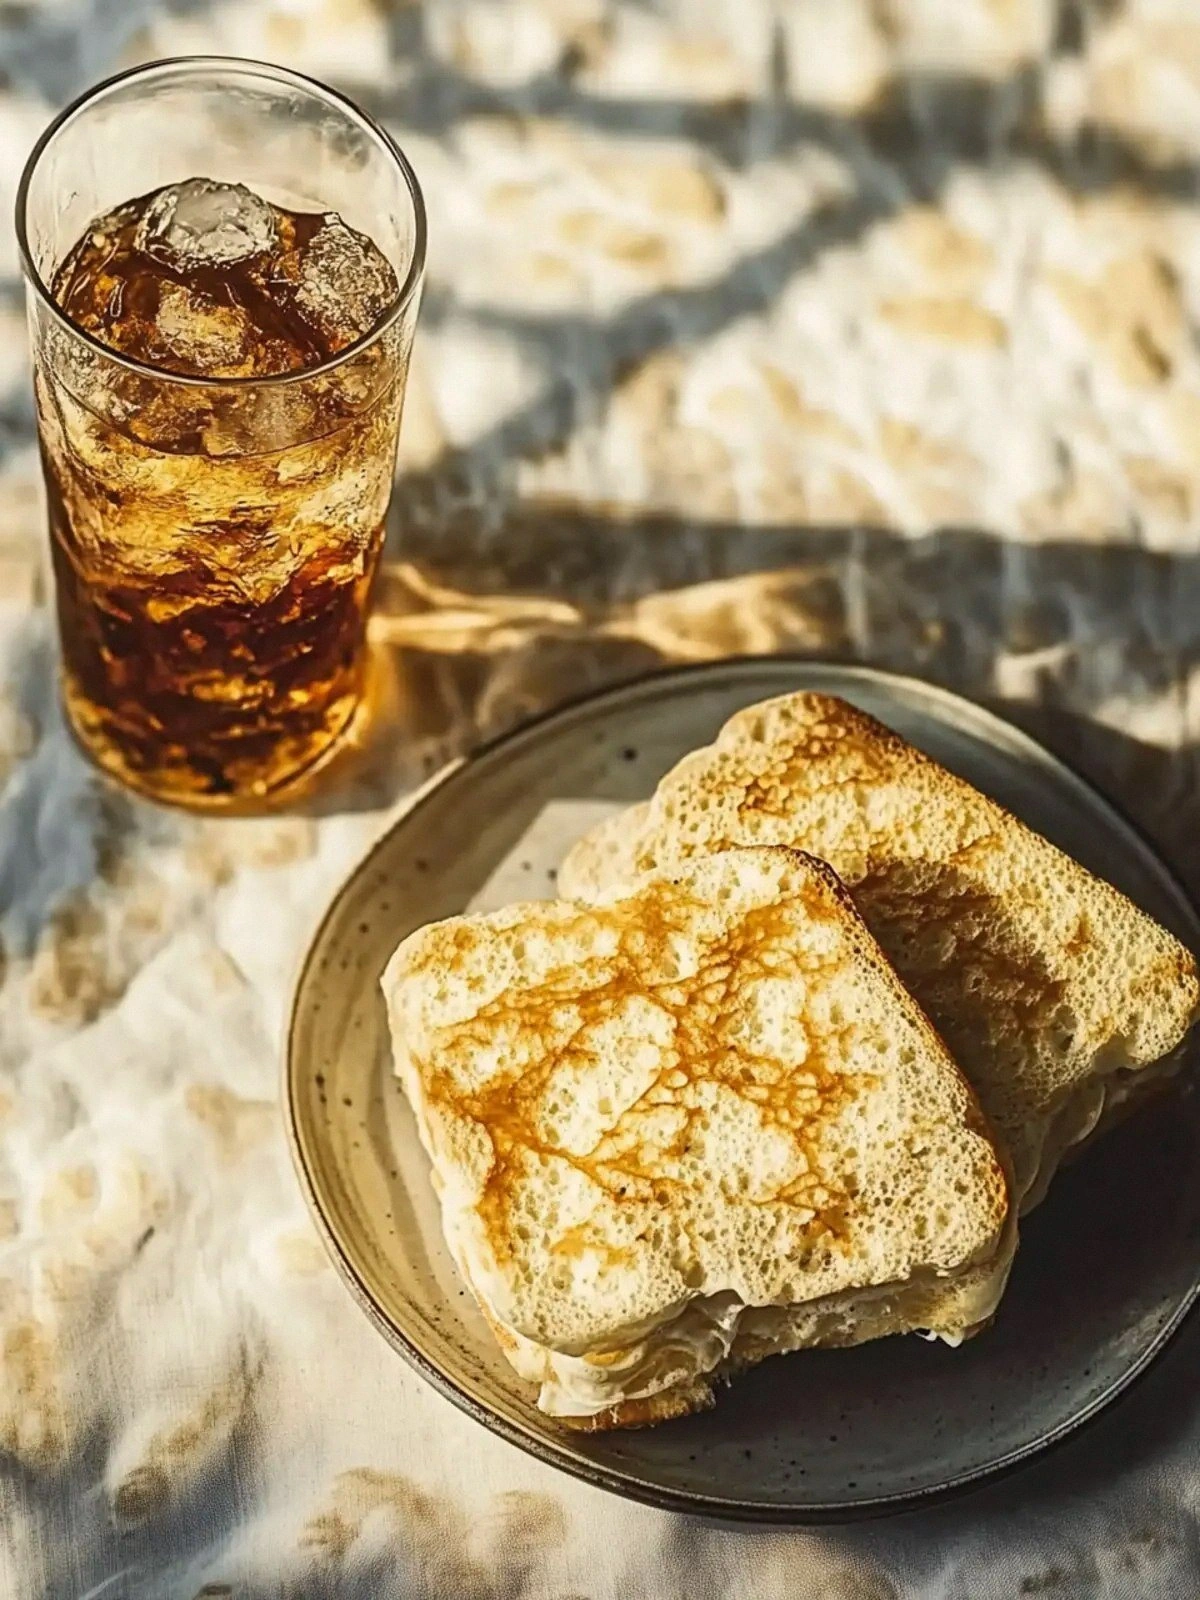
- Serve hot with a drizzle of honey, a dollop of yogurt, or a sprinkle of fresh herbs. The contrast between the sweet, tangy batter and the savory toppings creates a symphony of flavors that will keep you coming back for more.
- Enjoy immediately, or store leftovers in an airtight container in the fridge for up to 24 hours. Reheat in a skillet or oven to restore crispness. The result is a breakfast that tastes as fresh as the day it was made.
That's it—you did it. But hold on, I've got a few more tricks that'll take this to another level…
Insider Tricks for Flawless Results
The Temperature Rule Nobody Follows
Many bakers jump straight to high heat, assuming it’ll give a quick crust. In reality, medium‑low heat allows the soda to release gas slowly, creating a more even rise. I’ve seen farls that are over‑brown on the outside but under‑cooked inside because the heat was too intense. Keep the skillet at a steady medium‑low and use a thermometer if you’re a perfectionist.
Why Your Nose Knows Best
The aroma of buttermilk and baking soda is a subtle indicator that the batter is ready to cook. If you notice a metallic tang, the soda may not have fully activated. A fresh scent signals that the batter will expand nicely. Trust your nose; it’s the best judge of readiness.
The 5‑Minute Rest That Changes Everything
After pouring the batter, let it sit for five minutes before flipping. This pause allows the batter’s structure to set, preventing the farls from collapsing. I once skipped this step and the farls fell apart like paper. The rest also lets the flour absorb the buttermilk, resulting in a smoother crumb.
Dusting with Flour Is Your Secret Weapon
A light dusting of flour on the skillet before cooking prevents sticking and ensures a crisp edge. It also helps absorb excess moisture, keeping the farls from becoming soggy. Use a fine flour and shake off any excess before adding the batter.
Batch Cooking Saves Time
If you’re making a large batch, cook the farls in two or three batches to avoid overcrowding. Overcrowding leads to steam buildup, which can make the farls soggy. Keep a timer handy and rotate the pan to maintain even cooking.
Creative Twists and Variations
This recipe is a playground. Here are some of my favorite ways to switch things up:
Cheesy Delight
Add 1/4 cup grated cheddar to the batter for a savory twist. The cheese melts into the farls, creating pockets of gooey goodness. Serve with a side of salsa or guacamole for a breakfast‑dinner hybrid. Friends rave about the cheesy crunch.
Herb‑Infused Morning
Stir in 2 tablespoons chopped fresh rosemary or thyme before cooking. The herbs infuse the batter with a fragrant, earthy aroma. Pair with a poached egg for a sophisticated brunch.
Spicy Kick
Add a pinch of cayenne pepper or a splash of hot sauce to the batter. The heat will contrast with the sweet buttermilk, creating a flavor explosion. This version is perfect for those who love a little spice in their morning.
Berry‑Burst Variation
Fold in a handful of fresh blueberries or sliced strawberries into the batter. The berries burst with juice as the farls cook, giving a fruity burst with every bite. Serve with a drizzle of honey for extra sweetness.
Vegan Option
Replace the buttermilk with unsweetened almond milk and a splash of apple cider vinegar. Use a plant‑based butter substitute for the skillet. The result is a fluffy, dairy‑free farl that still delivers on flavor.
Breakfast Sandwich
Slice a cooked farl horizontally and fill with scrambled eggs, bacon, and a slice of cheese. This transforms the farl into a portable breakfast sandwich. It’s a crowd‑pleaser for brunch parties.
Storing and Bringing It Back to Life
Fridge Storage
Cool the farls completely, then store them in an airtight container in the fridge for up to 24 hours. The moisture from the container keeps them from drying out, but be sure to keep them away from strong odors. When ready to eat, reheat in a skillet for a few minutes on each side to restore crispness.
Freezer Friendly
Place the cooled farls on a parchment‑lined tray and freeze until solid. Transfer them to a freezer bag for long‑term storage, up to two weeks. Thaw in the fridge overnight before reheating. This method preserves the fluffy texture and flavor profile.
Best Reheating Method
The best way to bring farls back to life is to reheat in a hot skillet with a splash of water. The water steams the farls, preventing them from becoming dry while re‑crisping the exterior. A quick 2‑minute pan‑heat on each side restores the golden crust and fluffy interior.