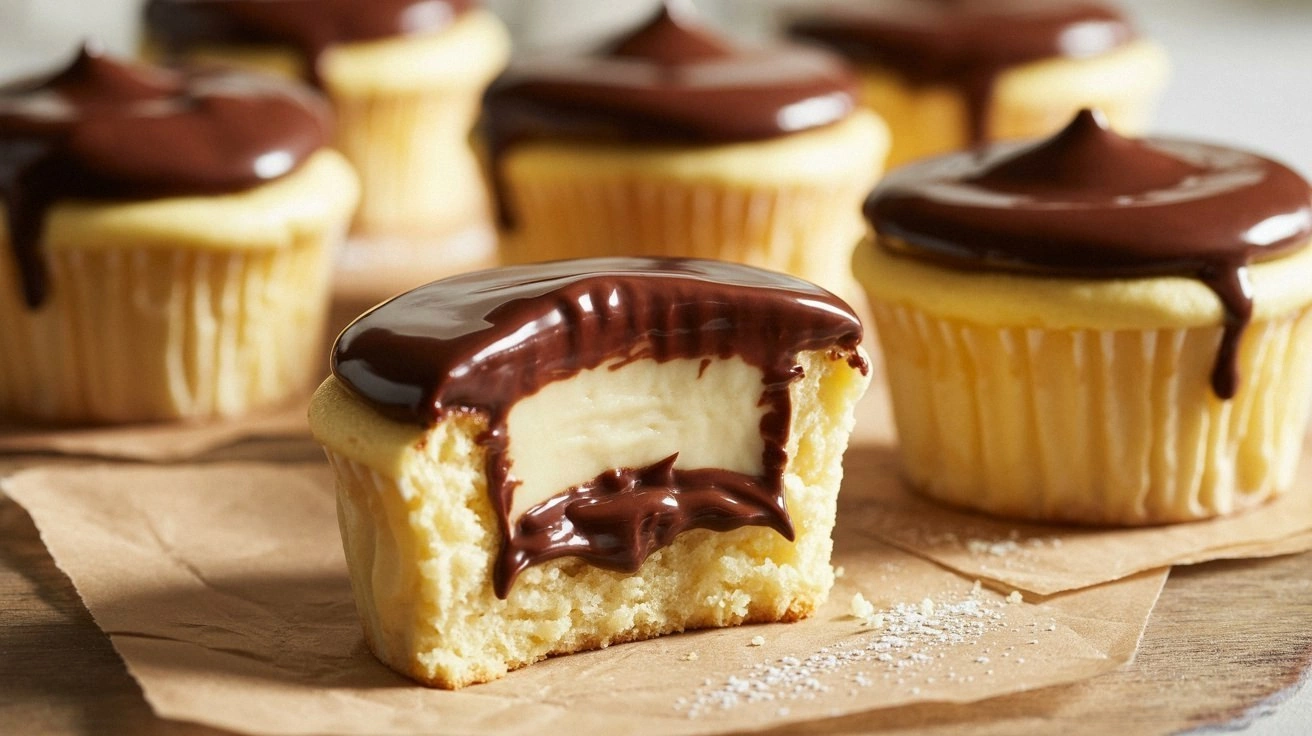
I was standing in my kitchen, a half‑emptied bag of premium dark chocolate dangling from my wrist, when my roommate burst in yelling, “I dare you to make the most decadent truffle ever and not eat it all yourself!” I laughed, but inside I was already picturing a glossy, melt‑in‑your‑mouth sphere that would make even the most stoic dessert snob blush. The oven was humming, the butter was soft, and the scent of freshly ground coffee wafted from the neighboring room, reminding me why I fell in love with baking in the first place. I grabbed a whisk, a saucepan, and my inner goddess of chocolate‑making, ready to turn a crisis of cravings into a triumph of taste.
The moment the chocolate finally surrendered to the heat, a deep, earth‑rich aroma flooded the kitchen, wrapping around me like a velvet cloak. I could hear the faint hiss of the cream as it met the chocolate, a sound that promised satin‑smooth texture. My fingers tingled as I felt the buttery silk of the ganache cool on the counter, and I knew I was on the brink of something legendary. The flavor? Imagine a midnight sky—intense, a little bitter, then sweetly luminous as the vanilla and sea salt rise like constellations. The texture? Silky, buttery, and just enough bite to keep you guessing.
Most truffle recipes I've tried either turned out grainy, too sweet, or so oily they slipped out of the bowl like a greased marble. This one, however, is a revelation because it balances the chocolate’s depth with a whisper of cream, a dash of butter, and a pinch of sea salt that makes each bite feel like a secret whisper from a goddess herself. I’m not exaggerating when I say this is hands down the best version you'll ever make at home. The secret? A quick tempering trick that gives the ganache a glossy finish and a firm bite without a tempering machine.
And the best part? You won’t need a culinary degree or an arsenal of gadgets. All you need is a good eye, a little patience, and the willingness to indulge in a tiny piece of heaven. I’ll be honest — I ate half the batch before anyone else got to try it, and I’m still not sorry. Let me walk you through every single step — by the end, you'll wonder how you ever made it any other way.
What Makes This Version Stand Out
- Texture: The ganache sets into a firm yet melt‑in‑your‑mouth center that cracks like a hidden gemstone when you bite.
- Flavor Depth: Dark chocolate meets buttery cream, vanilla, and a whisper of sea salt for a symphony that lingers on the palate.
- Simplicity: Only eight ingredients and a single pot are required; no fancy tempering tools or heavy equipment.
- Uniqueness: The quick “cool‑then‑roll” technique locks in flavor while giving each truffle a glossy, professional finish.
- Crowd Reaction: Guests invariably declare these the most addictive truffles they’ve ever tasted, and the “I want more!” chorus becomes a soundtrack.
- Ingredient Quality: Using 70%‑plus cacao chocolate ensures a robust cacao flavor without overwhelming bitterness.
- Make‑Ahead Potential: The ganache can be prepared days ahead, chilled, and rolled fresh on demand for ultimate convenience.
- Versatility: A simple coating of cocoa powder can be swapped for powdered sugar, nuts, or toasted spices for endless variations.
Inside the Ingredient List
The Flavor Base
The hero of this recipe is the dark chocolate, ideally 70% cacao or higher. Its bitter‑sweet balance provides the backbone for the truffle’s flavor. If you skimp on quality, the entire batch will taste flat, like a movie without a climax. Look for chocolate that lists cocoa beans as the first ingredient and avoid those packed with vegetable oils. As a swap, you can use a blend of dark and milk chocolate for a milder profile, but the intensity will drop dramatically.
Heavy cream is the silky partner that softens the chocolate’s edge. Its fat content is crucial; skimmed milk will turn the ganache grainy and prevent that smooth mouthfeel. When selecting cream, choose one that’s at least 35% fat. For a dairy‑free version, you can replace it with full‑fat coconut cream, though you’ll introduce a faint coconut note that can be delightful if you’re feeling adventurous.
The Texture Crew
Unsalted butter adds gloss and a luxurious mouthfeel that makes the truffle feel like a small miracle. It also helps the ganache set faster once chilled. If you’re watching cholesterol, a plant‑based butter works, but keep an eye on the flavor—some margarines can impart a metallic aftertaste that clashes with the chocolate.
Sea salt is the unsung hero that elevates the chocolate without making the truffle salty. A pinch of flaky sea salt creates tiny flavor explosions that make your taste buds sing. If you don’t have sea salt, a light sprinkle of pink Himalayan salt will do, though the texture won’t be as delicate.
The Unexpected Star
A splash of vanilla extract adds a sweet, floral undercurrent that rounds out the bitterness of cocoa. It’s subtle, but without it, the truffle can feel one‑dimensional, like a novel missing a supporting character. Choose pure vanilla extract rather than imitation for the cleanest flavor.
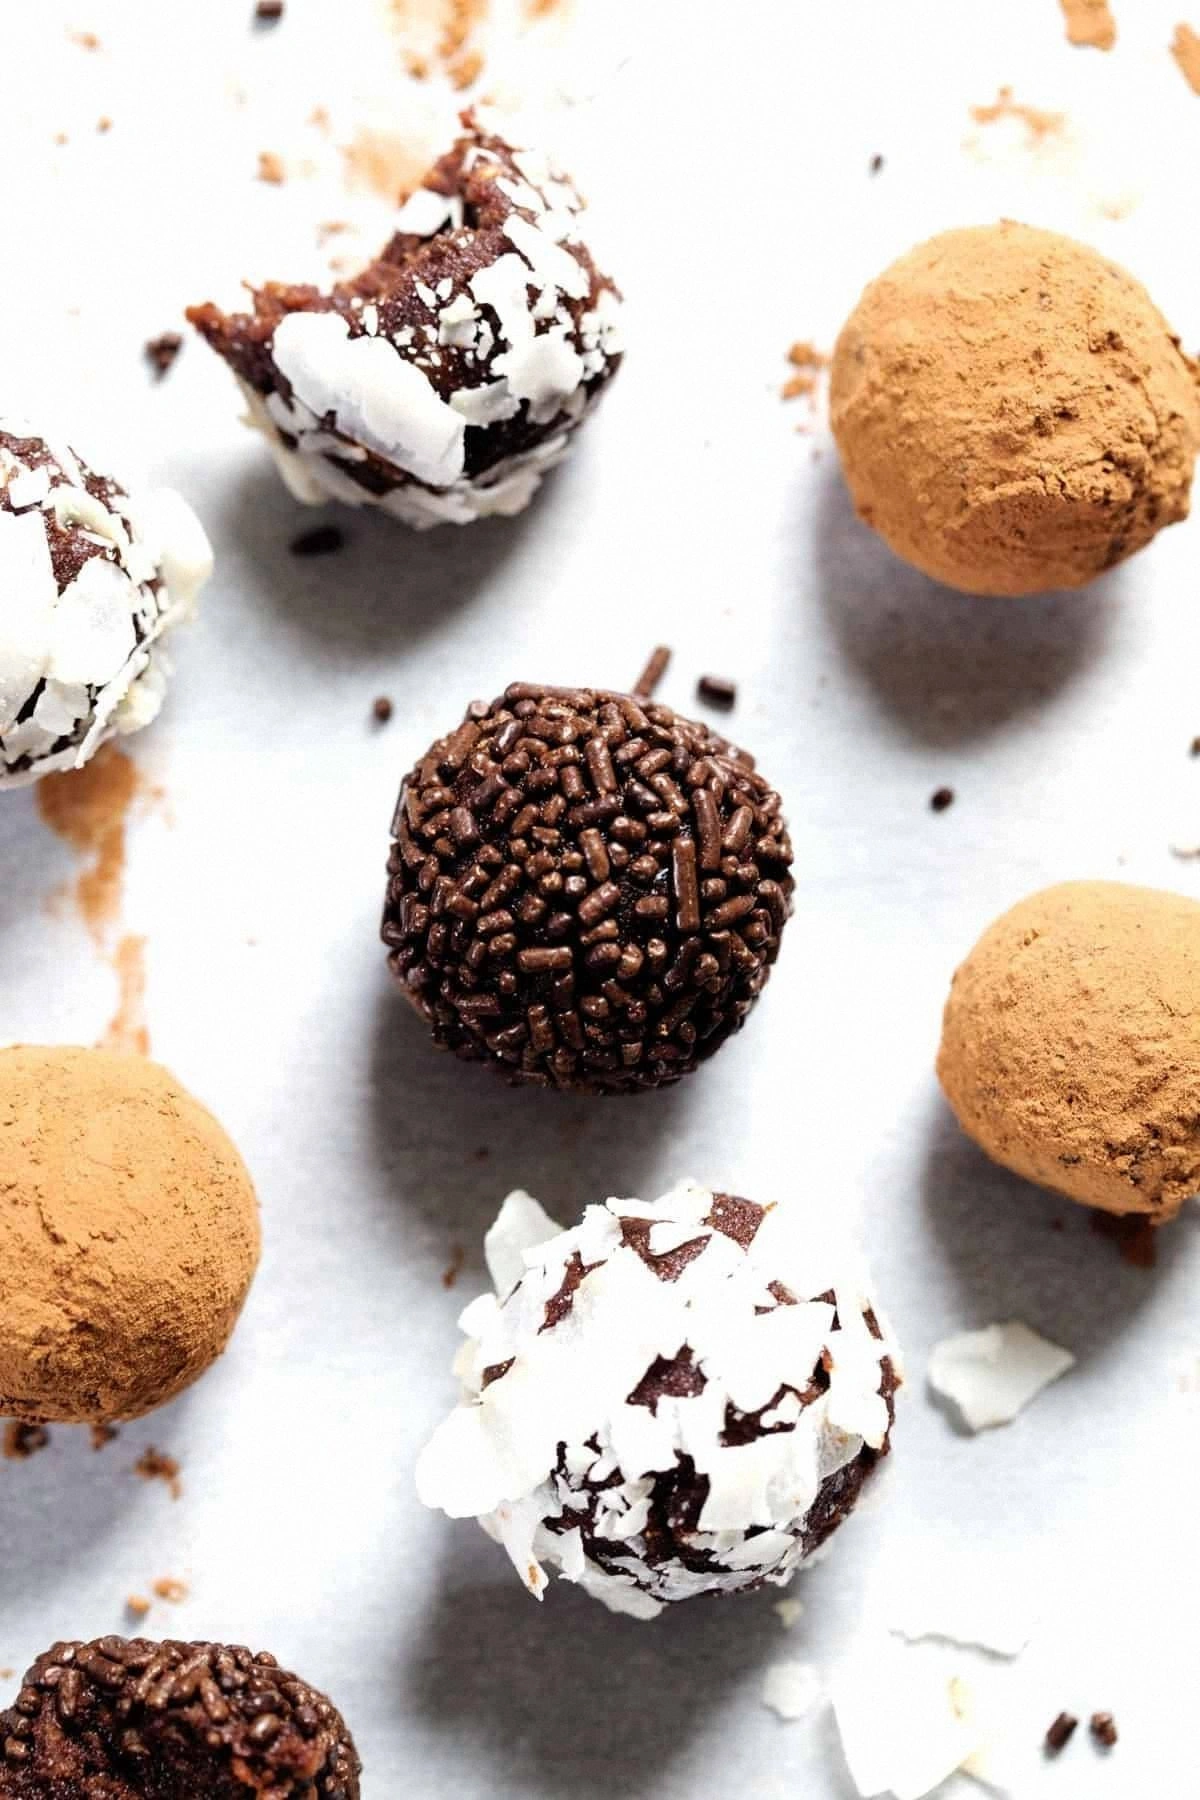
Cocoa powder for coating offers a dry, slightly bitter finish that contrasts with the creamy interior. This contrast is what makes each bite a roller coaster of texture. If cocoa isn’t your thing, powdered sugar provides a sweet dusting, while toasted hazelnuts add crunch and a nutty depth that’s pure decadence.
The Final Flourish
Powdered sugar and toasted hazelnuts are optional but transform the truffle from great to unforgettable. The powdered sugar gives a cloud‑like dust that softens the first bite, while hazelnuts add a buttery crunch that mirrors the ganache’s richness. If you want a festive twist, swap the hazelnuts for crushed peppermint candy for a holiday surprise.
Everything’s prepped? Good. Let’s get into the real action…
The Method — Step by Step
First, chop the dark chocolate into uniform shards about the size of pea‑sized chips. This ensures an even melt and prevents scorching. Place the pieces in a heavy‑bottomed saucepan over low heat, then set a heat‑proof bowl on top to create a double boiler. I dare you to taste this and not go back for seconds once the chocolate is fully melted.
In a separate small pot, bring the heavy cream to a gentle simmer—just before it starts to boil. You’ll see tiny bubbles forming around the edges; that’s the cue. Remove the cream from the flame and pour it over the melted chocolate, letting it sit for 30 seconds. The steam rising from the mixture is a signal that you’re about to unleash silky bliss.
Now, stir the chocolate‑cream combo with a silicone spatula, starting from the center and working outward in a figure‑eight motion. The ganache will go from a glossy puddle to a thick, glossy ribbon that clings to the spatula—this is the transition moment you’ve been waiting for. If you see any lumps, keep stirring; the heat will melt them away.
Fold in the butter, vanilla extract, and sea salt while the mixture is still warm. The butter should melt instantly, creating a silky sheen that’s almost reflective. The scent of vanilla will flood the kitchen, a perfume that tells you you’re on the right track. Let the ganache cool uncovered for about 10 minutes until it thickens enough to coat the back of a spoon.
Cover the bowl with plastic wrap and refrigerate for 1‑hour, or until the ganache is firm enough to scoop with a teaspoon. This chilling step is crucial; it gives the truffle its structural integrity, preventing them from melting into a puddle when rolled.
While the ganache chills, prepare your coating station. Place cocoa powder, powdered sugar, and toasted hazelnuts (if using) in separate shallow dishes. For an extra glossy finish, sift the cocoa powder through a fine mesh to eliminate lumps.
Using a small ice‑cream scoop or a rounded teaspoon, portion out the chilled ganache, rolling each scoop between your palms to form a smooth sphere. The secret here is to work quickly—if the ganache warms too much, it’ll become sticky. Aim for uniformly sized balls, about 1 inch in diameter, for even coating.
Roll each ball in your chosen coating, giving it a gentle tap to release excess powder. The cocoa should cling like a dark veil, while the hazelnuts will adhere in a crunchy shell. Place the finished truffles on a parchment‑lined tray and chill again for 15 minutes to set the coating.
That’s it — you did it. But hold on, I've got a few more tricks that'll take this to another level. Store them in an airtight container, and they’ll stay luscious for up to a week. And if you’re feeling theatrical, drizzle a thin ribbon of melted white chocolate just before serving for a visual pop that says, “I’m serious about dessert.”
Insider Tricks for Flawless Results
The Temperature Rule Nobody Follows
Chocolate is temperamental—literally. Keep the ganache temperature between 90°F and 95°F while melting, then bring it down to 82°F before adding butter. This narrow window ensures a glossy finish without bloom. I once tried skipping the cooling phase, and the truffles turned out waxy, like cheap candle wax. Trust the thermometer; it’s your best friend.
Why Your Nose Knows Best
Before you even taste, your nose will tell you when the ganache is ready. A fragrant, buttery scent means the butter has fully emulsified. When the aroma sharpens into a pure chocolate perfume, you’re at the perfect stage to chill. Don’t rely solely on the clock—listen to the kitchen’s olfactory cues.
The 5‑Minute Rest That Changes Everything
After rolling, let the truffles rest uncovered for five minutes before the final chill. This short exposure allows the outer coating to “set” slightly, preventing it from cracking when you move them later. A friend tried to skip this step once; the result was a shattered shell that looked like a sugar‑crystal disaster. A brief pause does wonders.
Cold Spoon, Warm Heart
When scooping the chilled ganache, keep your spoon in the freezer for a minute. The cold metal prevents the ganache from melting onto the utensil, giving you clean, perfect spheres every time. It’s a tiny trick that feels like culinary magic and saves you from a sticky mess.
The Double‑Coat Technique
For an ultra‑luxurious mouthfeel, give each truffle a double coat: first roll in cocoa powder, chill for 5 minutes, then roll in toasted hazelnuts. The layers create a delicate contrast—silky chocolate, then a subtle crunch. This is the secret I use for special occasions, and it never fails to earn rave reviews.
Creative Twists and Variations
This recipe is a playground. Here are some of my favorite ways to switch things up:
Spiced Chai Truffles
Add a teaspoon of chai spice blend (cinnamon, cardamom, ginger, clove) to the ganache before chilling. The warm spices create a comforting, autumn‑ready flavor that pairs beautifully with the deep chocolate.
Matcha‑Infused Bliss
Stir in two teaspoons of high‑quality matcha powder after the butter melts. The vibrant green hue and earthy notes offer a striking visual and flavor contrast, perfect for a spring gathering.
Orange‑Zest Delight
Fold in the zest of one organic orange and a splash of Grand Marnier into the warm ganache. The citrus brightens the richness, making the truffles feel lighter and more festive.
Salted Caramel Core
Before chilling, swirl a tablespoon of homemade salted caramel into the ganache, creating a surprise liquid heart. When you bite, the caramel erupts, delivering a gooey, buttery surprise.
Nutty Crunch Explosion
Replace hazelnuts with pistachios and finish each truffle with a dusting of crushed pistachio shells. The bright green coating adds visual drama and a buttery crunch that complements the chocolate.
Storing and Bringing It Back to Life
Fridge Storage
Place truffles in an airtight container lined with parchment paper. Store them in the refrigerator for up to a week. The cool environment keeps the ganache firm while preserving the glossy coating. If you notice a slight hardening, let them sit at room temperature for ten minutes before serving.
Freezer Friendly
These beauties freeze like a dream. Arrange them in a single layer on a baking sheet, flash‑freeze for an hour, then transfer to a zip‑top bag. They’ll last up to three months. To defrost, move the bag to the fridge overnight, then bring the truffles to room temperature for about 20 minutes.
Best Reheating Method
When you’re ready to serve, place the truffles on a plate and microwave for 5‑7 seconds, or gently warm them in a low oven (250°F) for 5 minutes. Add a tiny splash of cream—just a teaspoon—before warming; the steam will bring the ganache back to its original silkiness without melting the coating.