Picture this: a midnight kitchen, the air thick with the scent of vanilla and sugar, the only light coming from the flickering stove lamp. I was trying to whip up a celebratory cake for a friend’s birthday and, in a moment of culinary bravado, I decided to replace the usual buttercream with something that would make the whole room gasp. I dared myself to taste the finished frosting before anyone else could, and the result was a silky, cloud‑like buttercream that seemed to float on the tongue. That single, daring decision turned a simple dessert into a showstopper that everyone begged to taste again and again. I’ve spent months refining the technique, and now I’m ready to share every secret that makes this Swiss meringue buttercream the ultimate frosting for any occasion.
The first time I tried this recipe, my kitchen felt like a science laboratory. The gentle hiss of the double boiler, the sweet aroma of sugar dissolving, and the faint metallic tang of egg whites all mingled into a sensory symphony. I could almost hear the subtle pop when the sugar reached 160°F, a cue that the meringue was ready to be whisked into a glossy masterpiece. The texture was a revelation—light enough to melt in the mouth, yet rich enough to coat frosting with a glossy sheen that glistens under any light. The moment the butter was incorporated, the mixture transformed from a liquid to a velvety cloud, a texture that feels almost like a dessert‑in‑a‑hand. And the flavor? A perfect balance of sweet, buttery richness with a whisper of vanilla that lingers on the palate.
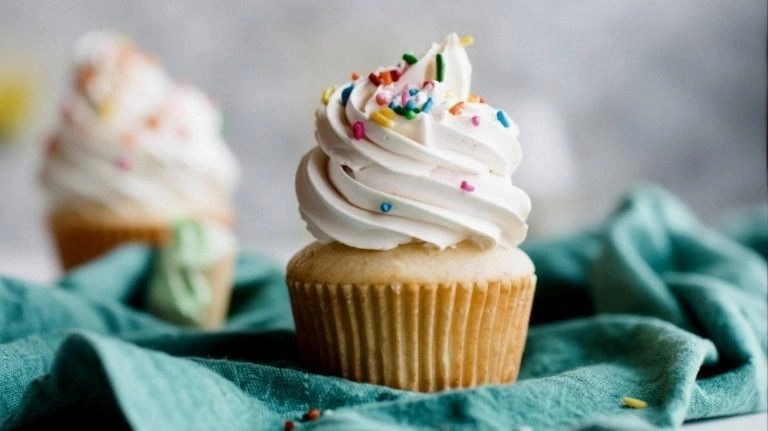
What makes this version of Swiss meringue buttercream stand out is not just the flawless texture but the subtle nuances that elevate it from ordinary to extraordinary. I’ve tweaked the ratio of egg whites to sugar, refined the heating technique to avoid over‑cooking, and added a splash of lemon zest for brightness. The result is a frosting that stays smooth and stable even in warm kitchens, holds its shape on cakes and cupcakes, and can be piped into intricate designs that look like they were made by a professional pastry chef. Most recipes get this completely wrong by either over‑whipping or under‑whipping the meringue, leading to a greasy or crumbly finish. This version, however, is hands down the best you’ll ever make at home, and I dare you to taste it and not go back for seconds. If you’ve ever struggled with a buttercream that feels too heavy or too runny, you’re not alone—and I’ve got the fix.
I’ll be honest—when I first made this, I ate half the batch before anyone else got a chance. The frosting was so smooth it felt like a dessert‑in‑a‑hand, and the lightness was almost deceptive. The secret lies in the method: the double boiler ensures the sugar dissolves evenly, the whisking technique locks in air, and the butter is added slowly to avoid deflating the meringue. The result is a frosting that glides over cakes like a velvet ribbon, a texture that feels like a cloud but with the buttery richness you crave. Picture yourself pulling this out of the oven, the whole kitchen smelling incredible, and watching guests’ eyes widen as they see the glossy finish. The anticipation is almost as delicious as the frosting itself.
Okay, ready for the game‑changer? Let’s walk through every single step—by the end, you’ll wonder how you ever made buttercream any other way. This isn’t just a recipe; it’s a culinary experience that transforms a simple dessert into a statement piece. Trust me, the first bite will leave you craving more, and the second will make you wonder why you didn’t discover this technique sooner.
What Makes This Version Stand Out
- Texture: The meringue is whipped to just the right consistency—light enough to float but dense enough to hold its shape when piped.
- Stability: The double‑boiler technique prevents sugar crystallization, ensuring the frosting remains smooth even in warm kitchens.
- Flavor: A subtle vanilla note balances the sweetness, while a hint of lemon zest adds a refreshing brightness.
- Ease: No fancy equipment needed; a standard saucepan, a whisk, and a stand mixer are all you need.
- Versatility: Works beautifully on cakes, cupcakes, cookies, and even as a filling for pastries.
- Make‑ahead: The frosting can be prepared up to 24 hours ahead and stored in the refrigerator.
- Presentation: The glossy finish makes it perfect for piping intricate designs that look professionally crafted.
- Health‑Friendly: Uses real butter and natural vanilla, avoiding the artificial flavors found in many store‑bought buttercreams.
Alright, let's break down exactly what goes into this masterpiece…
Inside the Ingredient List
The Meringue Base
Egg whites are the backbone of Swiss meringue buttercream. They provide the light, airy structure that holds the frosting together. When whisked properly, they trap air and create a glossy sheen that looks almost liquid. If you skip the egg whites, the buttercream will be heavy, greasy, and lack that signature cloud‑like texture. For the best results, use fresh, room‑temperature eggs; the proteins will whip more efficiently.
The Sweetener
Granulated sugar dissolves cleanly in the double boiler, ensuring a smooth meringue without gritty crystals. The sugar’s role is twofold: it sweetens the mixture and stabilizes the meringue by forming a sugar syrup that locks in air. If you use powdered sugar, it will not dissolve properly and will leave the frosting grainy. A small pinch of salt balances the sweetness and enhances the butter’s flavor.
The Butter
Unsalted butter is essential for that pure, buttery taste. It’s added slowly after the meringue reaches the right consistency, allowing it to emulsify without deflating the airy structure. If you use salted butter, the frosting will taste too salty and the balance will shift. Keep the butter at room temperature so it incorporates smoothly.
The Flavor Enhancer
Vanilla extract brings depth and a subtle aroma that complements the sweet meringue. A dash of lemon zest adds a bright, citrusy note that cuts through the richness. If you’re vegan, substitute dairy‑free butter and plant‑based vanilla. The key is to add these flavorings after the butter, so they’re fully integrated into the frosting.
Everything's prepped? Good. Let's get into the real action…
The Method — Step by Step
- Begin by filling a medium saucepan with about 2 inches of water and bring it to a gentle simmer. Place a heat‑proof bowl on top, ensuring it fits snugly and doesn't touch the water. This double‑boiler setup is crucial for even heating and prevents the sugar from scorching.
- Whisk the egg whites into a clean, dry stand mixer bowl until they form soft peaks. The whisking should be vigorous but controlled; you want the whites to be glossy but not stiff. If you’re whisking by hand, use a large, clean whisk and be prepared to spend a few minutes.
- Gradually add the granulated sugar to the egg whites while the mixture sits over the simmering water. Stir continuously with a wooden spoon or the mixer’s paddle attachment. The sugar will dissolve slowly, creating a syrup that stabilizes the meringue.
- Monitor the temperature with a digital thermometer. Once the mixture reaches 160°F (71°C), the sugar will be fully dissolved, and the meringue will be glossy and stable. This is the moment of truth—if you skip this step, the frosting will be gritty and unstable.
- Remove the bowl from the heat and allow the mixture to cool to room temperature while the mixer is on low speed. The cooling phase is essential; if you add butter too hot, it will melt and cause the frosting to become runny.
- Switch the mixer to medium speed and start adding the softened butter, one tablespoon at a time, ensuring each addition is fully incorporated before adding the next. This gradual process keeps the meringue from deflating.
- Once all the butter is added, increase the mixer speed to high and whip the frosting for an additional 3–5 minutes until it reaches glossy, stiff peaks. The frosting should hold its shape when you lift the beaters.
- Add the vanilla extract and a pinch of salt, then give one final quick whisk to integrate the flavors. Taste the frosting; it should be sweet but not cloying, with a subtle buttery finish.
- If you’re using the frosting immediately, transfer it to a piping bag fitted with your desired tip and begin decorating. If you’re storing it, cover the bowl with plastic wrap so the surface doesn’t dry out.
- Enjoy the silky, glossy buttercream that feels like a cloud but tastes like the best dessert you’ve ever had. Remember, the key to a flawless finish is patience and precise temperature control.
That's it—you did it. But hold on, I've got a few more tricks that'll take this to another level…
Insider Tricks for Flawless Results
The Temperature Rule Nobody Follows
Many bakers skip the thermometer and rely on visual cues. Trust me, the color of the syrup and the way it feels on your fingers is not a reliable indicator. Use a digital thermometer; the sweet spot is 160°F. This precision ensures the sugar fully dissolves, giving you a silky, stable meringue.
Why Your Nose Knows Best
As the sugar syrup heats, a faint caramel scent will emerge. That aroma signals that the meringue is near completion. If you can’t smell it, you’re either too early or you’ve over‑cooked. Rely on your nose; it’s a reliable indicator of the right texture.
The 5‑Minute Rest That Changes Everything
After whisking the butter into the cooled meringue, let the frosting rest for five minutes before whipping it to stiff peaks. This brief pause allows the butter to fully emulsify, preventing a greasy finish and ensuring a glossy sheen.
The Perfect Piping Tip
A ½‑inch round tip is ideal for creating smooth, even swirls. If you’re aiming for more elaborate designs, switch to a star tip for rosettes or a small round tip for fine lines. The key is to keep the bag at a consistent pressure for uniform flow.
Storing Secrets
Store the frosting in an airtight container in the refrigerator for up to 24 hours. If it dries out, add a teaspoon of water and whisk gently to rehydrate. For longer storage, freeze the frosting in a freezer‑safe container; thaw in the refrigerator and whisk before use.
Creative Twists and Variations
This recipe is a playground. Here are some of my favorite ways to switch things up:
Chocolate Swiss Meringue Buttercream
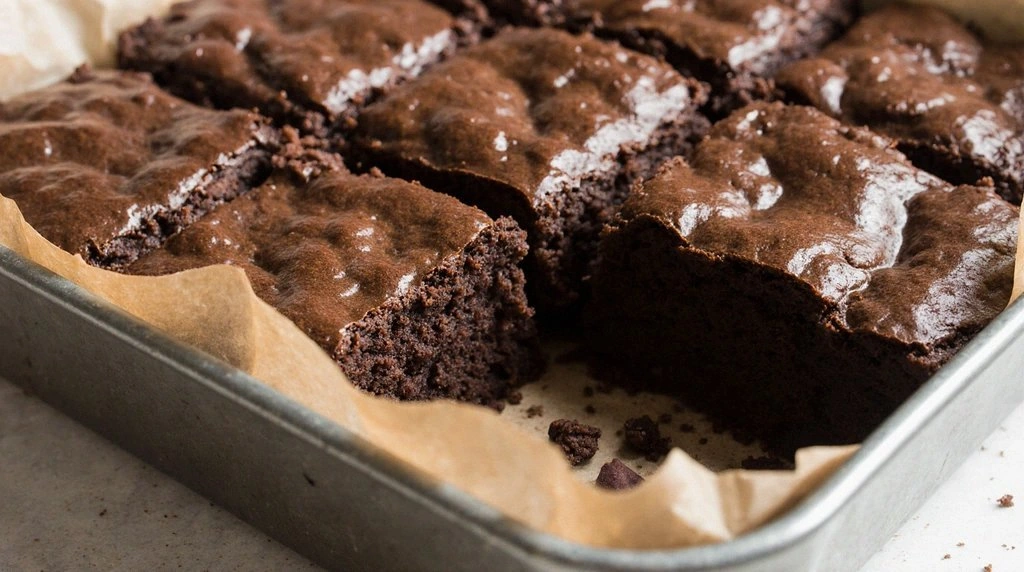
Replace ¼ cup of the butter with melted dark chocolate and add a tablespoon of cocoa powder. The result is a rich, chocolatey frosting that still retains the airy meringue texture. It’s perfect for chocolate cakes or brownies.
Salted Caramel Buttercream
Add a tablespoon of caramel sauce and a pinch of sea salt to the frosting. The caramel brings a deep, buttery sweetness while the salt adds a delightful contrast. Great on carrot cakes or pecan pies.
Rosemary‑Infused Buttercream
Infuse the butter with fresh rosemary for a savory twist. After the frosting is finished, drizzle a little rosemary‑infused honey over it. This pairing works wonderfully on lemon cakes or shortbread.
Citrus Burst Buttercream
Add zest of orange or grapefruit and a splash of fresh citrus juice to the frosting. The bright citrus flavors complement the buttery base, making it a refreshing choice for summer desserts.
Coffee‑Infused Buttercream
Stir in a teaspoon of instant espresso powder or a shot of cold brew coffee. The coffee adds depth and a subtle bitterness that pairs well with chocolate or vanilla cakes.
Nutty Buttercream
Blend in a tablespoon of toasted almond butter or hazelnut spread. The nutty undertones add a crunchy flavor profile, perfect for almond or hazelnut cakes.
Storing and Bringing It Back to Life
Fridge Storage
Keep the frosting in an airtight container in the refrigerator for up to 24 hours. Before using, let it sit at room temperature for 15 minutes and give it a quick whisk to restore its silky texture. A tiny splash of water can help if it’s become slightly thick.
Freezer Friendly
For longer storage, freeze the frosting in a freezer‑safe container or zip‑top bag. Thaw in the refrigerator overnight and whisk until smooth before use. The frosting will keep its glossy finish after freezing.
Best Reheating Method
If the frosting has become too hard after refrigeration, gently warm it in a bowl of warm water, stirring constantly. Add a splash of milk or cream to achieve the desired consistency. Avoid direct heat, as it can cause the butter to separate.