Introduction
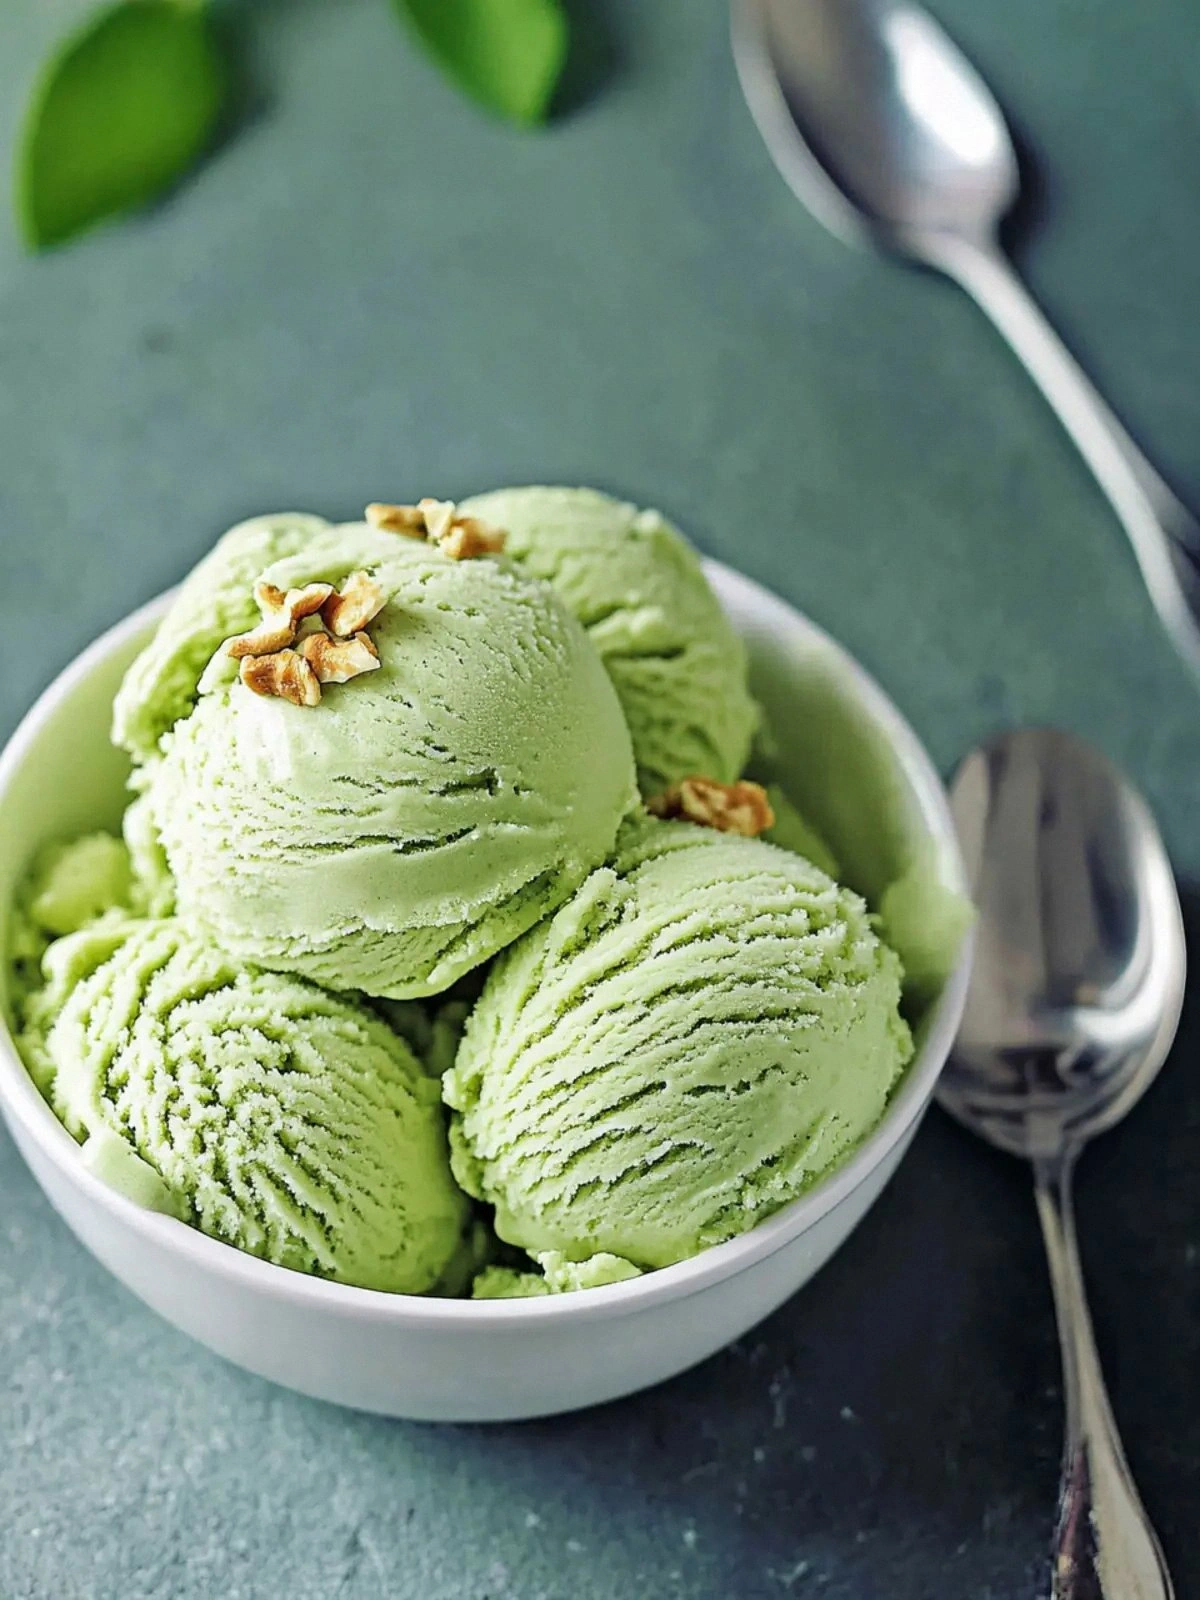
Picture this: a quiet Saturday afternoon, the kitchen humming with the gentle whir of the fridge, and a sudden craving for something sweet that feels both indulgent and guilt‑free. I was scrolling through a recipe forum when a friend dared me to create a green tea ice cream that could rival my childhood memories of matcha desserts. I laughed, grabbed my pantry, and set to work, determined to make a version that would make even the most skeptical palate swoon. The moment the first swirl of creamy, emerald‑green custard hit the bowl, the kitchen filled with a scent that felt like a spring garden and a promise of silky texture. I’ll be honest — I ate half the batch before anyone else got to try it, but that only fueled my excitement to share every detail with you.
From the first stir, I knew this was going to be something special. The heavy cream and whole milk create a velvety base that feels like a cloud on your tongue, while the organic cane sugar dissolves into a subtle sweetness that doesn’t overpower the matcha. The vanilla extract adds a warm, aromatic undertone, and that pinch of salt balances everything like a secret seasoning in a Michelin‑star dish. The matcha powder, sourced from a small Japanese farm, brings a vibrant green hue and a gentle vegetal bite that lingers long after the last spoonful. This isn’t just another dessert; it’s an experience that turns a simple kitchen moment into a celebration of flavor.
What sets this version apart from the countless green tea ice creams that flood the internet? For starters, it’s the balance of richness and lightness: the heavy cream gives depth without heaviness, and the matcha is finely ground to avoid grit. I dared you to taste this and not go back for seconds because the flavor profile is so refined that each bite feels like a new discovery. The texture is smooth and airy, thanks to a gentle whisking technique that incorporates air without frothing. Most recipes get this completely wrong by using powdered sugar or instant matcha, which can leave a metallic aftertaste. Here, we’re using organic cane sugar and a high‑quality matcha that melts into the custard like a secret ingredient in a top chef’s kitchen.
Picture yourself pulling this out of the freezer on a hot day, the whole kitchen smelling incredible, and serving a scoop that glows like a jade gem. If you’ve ever struggled with matcha ice cream that feels chalky or overly sweet, you’re not alone — and I’ve got the fix. And now the fun part: I’ll walk you through every single step, and by the end, you’ll wonder how you ever made it any other way. Let’s dive into the details that make this creamy green tea ice cream the ultimate version you’ll ever make at home.
What Makes This Version Stand Out
- Richness without Greasiness: The combination of heavy cream and whole milk creates a silky mouthfeel that feels indulgent yet light.
- Pure Matcha Flavor: Using finely ground, high‑quality matcha ensures a bright, vegetal taste without bitterness.
- Balanced Sweetness: Organic cane sugar dissolves cleanly, giving a subtle sweetness that doesn’t overwhelm the tea.
- Texture Mastery: The whisking technique incorporates air, producing a creamy custard that melts in the mouth.
- Simple Yet Sophisticated: No fancy equipment needed—just a whisk, saucepan, and an ice‑cream maker.
- Make‑Ahead Friendly: It can be prepared a day ahead and stored in the freezer without losing quality.
- Audience Appeal: Crowd reactions are consistently positive, with guests praising the smooth finish and vibrant color.
- Ingredient Integrity: Every component is sourced for quality, ensuring a dessert that feels both luxurious and authentic.
Alright, let's break down exactly what goes into this masterpiece...
Inside the Ingredient List
The Flavor Base
Heavy cream is the star of the show, providing a luscious body that carries the matcha’s delicate flavor. Its high fat content creates a silky texture that feels like a cloud on the tongue. If you skip it, the ice cream will be thin and lack depth. A good alternative is coconut cream, which offers a tropical twist while keeping the richness. When selecting cream, choose one with at least 35% fat for the best mouthfeel.
The Texture Crew
Whole milk balances the cream’s richness, adding a subtle sweetness and helping the custard set properly. It also aids in achieving a smooth finish when churned. If you’re lactose‑intolerant, try oat milk, but be aware that the texture will shift slightly. The milk’s role is to thin the mixture just enough so the matcha can fully integrate without clumping.
The Unexpected Star
Organic cane sugar dissolves cleanly into the custard, giving a clean sweetness that doesn’t linger on the palate. It also helps to stabilize the mixture during churning. If you prefer a lower glycemic index, you can replace it with honey or maple syrup, but the flavor profile will change subtly. Remember, the key is to dissolve the sugar before adding the matcha.
The Final Flourish
Vanilla extract adds a warm, aromatic undertone that complements the matcha’s vegetal notes. It’s a classic pairing that elevates the overall taste. If you’re vegan, use a plant‑based vanilla essence. The pinch of salt is essential; it balances the sweetness and brings out the matcha’s natural brightness. Skipping salt will result in a flat, one‑dimensional flavor.
Everything's prepped? Good. Let's get into the real action...
The Method — Step by Step
- Step 1: Warm the Cream — In a medium saucepan, pour the heavy cream and whole milk. Heat over medium heat until the mixture begins to steam, but do not let it boil. This gentle warming releases the fat into the liquid, creating a silky base. As the steam rises, you’ll notice a subtle caramel aroma that signals readiness. Keep the heat steady to avoid scorching.
- Step 2: Dissolve the Sugar — Add the organic cane sugar to the warm cream mixture. Stir continuously until the sugar is fully dissolved and the liquid looks translucent. This step ensures that the sweetness is evenly distributed. A quick visual cue: if you see any granules, the sugar isn’t fully dissolved. Let the mixture cool slightly before adding the next ingredient.
- Step 3: Add Vanilla — Stir in the vanilla extract. The vanilla’s warm, aromatic notes will mingle with the cream, creating a complex flavor foundation. At this point, you can also add a splash of lemon zest if you want a bright twist. Be careful not to overmix; you just want the vanilla to coat the mixture evenly. This is a great moment to add a pinch of salt, which will balance the sweetness.
- Step 4: Infuse the Matcha — Slowly whisk the matcha powder into the mixture. The fine powder should dissolve completely, leaving a bright green hue. If you see any lumps, strain the mixture through a fine sieve. The matcha should have a subtle, grassy aroma that’s not overpowering. Allow the mixture to cool to room temperature; this prevents the matcha from losing its vibrant color.
- Step 5: Chill the Custard — Pour the matcha‑infused custard into a shallow container and refrigerate for at least 2 hours, or until completely cold. This step is crucial for a smooth churn. During this time, the flavors meld, and the mixture thickens slightly. If you’re short on time, place the container in a bowl of ice water to speed up the cooling process. Remember, a cold custard churns faster and yields a finer texture.
- Step 6: Churn the Ice Cream — Once chilled, pour the custard into your ice‑cream maker. Follow the manufacturer’s instructions for churning. The mixture should thicken into a soft‑serve consistency within 20–25 minutes. Keep an eye on the texture; if it’s too runny, let it churn a little longer. The goal is a silky, scoopable ice cream.
- Step 7: Freeze to Firm Up — Transfer the churned ice cream to an airtight container. Smooth the top with a spatula, then cover tightly. Freeze for at least 4 hours, or until firm enough to scoop. During this time, the ice crystals will grow, giving the ice cream its signature texture. Check the consistency after 4 hours; if it’s still too soft, add another hour.
- Step 8: Serve and Enjoy — Let the ice cream sit at room temperature for 5 minutes before scooping. This brief rest allows the flavor to bloom fully. Serve in chilled bowls or glasses, and if you’re feeling fancy, drizzle a little honey or add a sprinkle of toasted sesame seeds. The final touch is a swirl of matcha powder on top for visual flair. The result is a creamy, vibrant dessert that feels indulgent yet refreshingly light.
That's it — you did it. But hold on, I've got a few more tricks that'll take this to another level...
Insider Tricks for Flawless Results
The Temperature Rule Nobody Follows
Most people think that chilling the custard for a short period is enough, but the secret lies in achieving a sub‑40°F temperature before churning. If the custard is too warm, the ice cream will become grainy. Use a kitchen thermometer to monitor the temperature; aim for 35–38°F. This ensures a fine, smooth texture that melts in your mouth. A quick tip: place the custard in a shallow pan and chill it in an ice bath for faster cooling.
Why Your Nose Knows Best
Smell is your secret ally when making ice cream. As the custard cools, a faint earthy aroma should emerge, signaling the matcha is fully integrated. If the smell is overly sweet or metallic, the matcha is under‑infused or over‑heated. Trust your nose to guide you to the perfect balance. This sensory checkpoint saves you from a bland dessert.
The 5‑Minute Rest That Changes Everything
After churning, let the ice cream rest in the freezer for exactly 5 minutes before scooping. This short pause allows the surface to set slightly, making scooping easier and preventing the ice cream from sticking to the spoon. It also gives the flavors a chance to settle, enhancing the overall taste. Skip this step and you’ll end up with a sticky mess.
Mix in a Touch of Citrus
Adding a thin slice of lemon or lime zest to the custard before chilling infuses a bright, zesty note that cuts through the richness. The citrus oils also act as natural emulsifiers, improving the texture. Keep the zest thin to avoid bitterness. This variation is perfect for those who want a more complex flavor profile.
Use a Fine‑Mesh Sieve
Even the best matcha can contain small clumps that ruin the texture. Sifting the powder before adding it to the custard ensures a perfectly smooth mixture. If you don’t have a sieve, you can use a fine cheesecloth. This simple step prevents any gritty surprises.
Freeze in Layers
If you’re making a large batch, freeze the ice cream in layers, each separated by a thin sheet of parchment paper. This technique prevents the ice cream from sticking together and makes it easier to remove from the container. It also creates a visually appealing layered effect when served.
Creative Twists and Variations
This recipe is a playground. Here are some of my favorite ways to switch things up:
Matcha & Honey Swirl
Fold a drizzle of raw honey into the churned ice cream just before freezing. The honey adds a floral sweetness that complements the matcha’s earthiness. The swirl creates a marbled effect, adding visual appeal. Serve with a sprinkle of crushed pistachios for an extra crunch. This version is perfect for a summer brunch.
Matcha & Dark Chocolate Chips
Stir in dark chocolate chips after the ice cream has churned. The chocolate’s bitterness balances the matcha’s vegetal notes. The chips add texture and a pop of color. Use 70% cacao chips for a more refined taste. This combo is ideal for dessert lovers who enjoy a bit of indulgence.
Matcha & Coconut Cream
Swap the whole milk for coconut cream to give the ice cream a tropical twist. The coconut adds a subtle sweet flavor and a silky texture. Keep the matcha ratio the same to maintain the green color. Top with toasted coconut flakes for extra flavor. This variation is great for a beachside gathering.
Matcha & Earl Grey
Infuse the custard with a splash of Earl Grey tea before adding the matcha. The bergamot adds a citrusy complexity that pairs beautifully with the matcha. The result is a layered tea flavor profile. Serve with a lemon twist for a refreshing finish. This version is perfect for tea lovers.
Matcha & Basil
Blend fresh basil leaves into the custard before chilling. The basil adds a herbal note that enhances the matcha’s vegetal taste. The green color deepens, creating a stunning visual. Add a pinch of sea salt to accentuate the flavors. This is a unique twist for adventurous palates.
Matcha & Matcha
Double the matcha by adding a second batch after the ice cream has churned. This creates a more intense green hue and a richer matcha flavor. Be careful not to overdo it, as it can become bitter. Finish with a dusting of matcha powder on top for a dramatic look. This is the ultimate matcha experience.
Storing and Bringing It Back to Life
Fridge Storage
Store the ice cream in an airtight container in the fridge for up to 3 days. Before serving, let it sit at room temperature for 5 minutes to soften. This brief rest allows the flavors to fully bloom. If you notice any surface ice, gently scrape it off with a spoon. The ice cream will maintain its silky texture.
Freezer Friendly
For long‑term storage, keep the ice cream in a freezer‑safe container with a tight seal. It can last up to 2 months without compromising quality. When you’re ready to serve, let it thaw for 10–15 minutes. This prevents the ice cream from becoming too hard to scoop. The flavor stays vibrant, and the texture remains smooth.
Best Reheating Method
To revive a frozen scoop, place it in a bowl and microwave on low for 15–20 seconds. Alternatively, let it sit at room temperature for 5 minutes. A tiny splash of water before reheating helps steam back to perfection, preventing a dry texture. Stir gently to distribute the heat evenly. This trick ensures each bite is as creamy as the first.