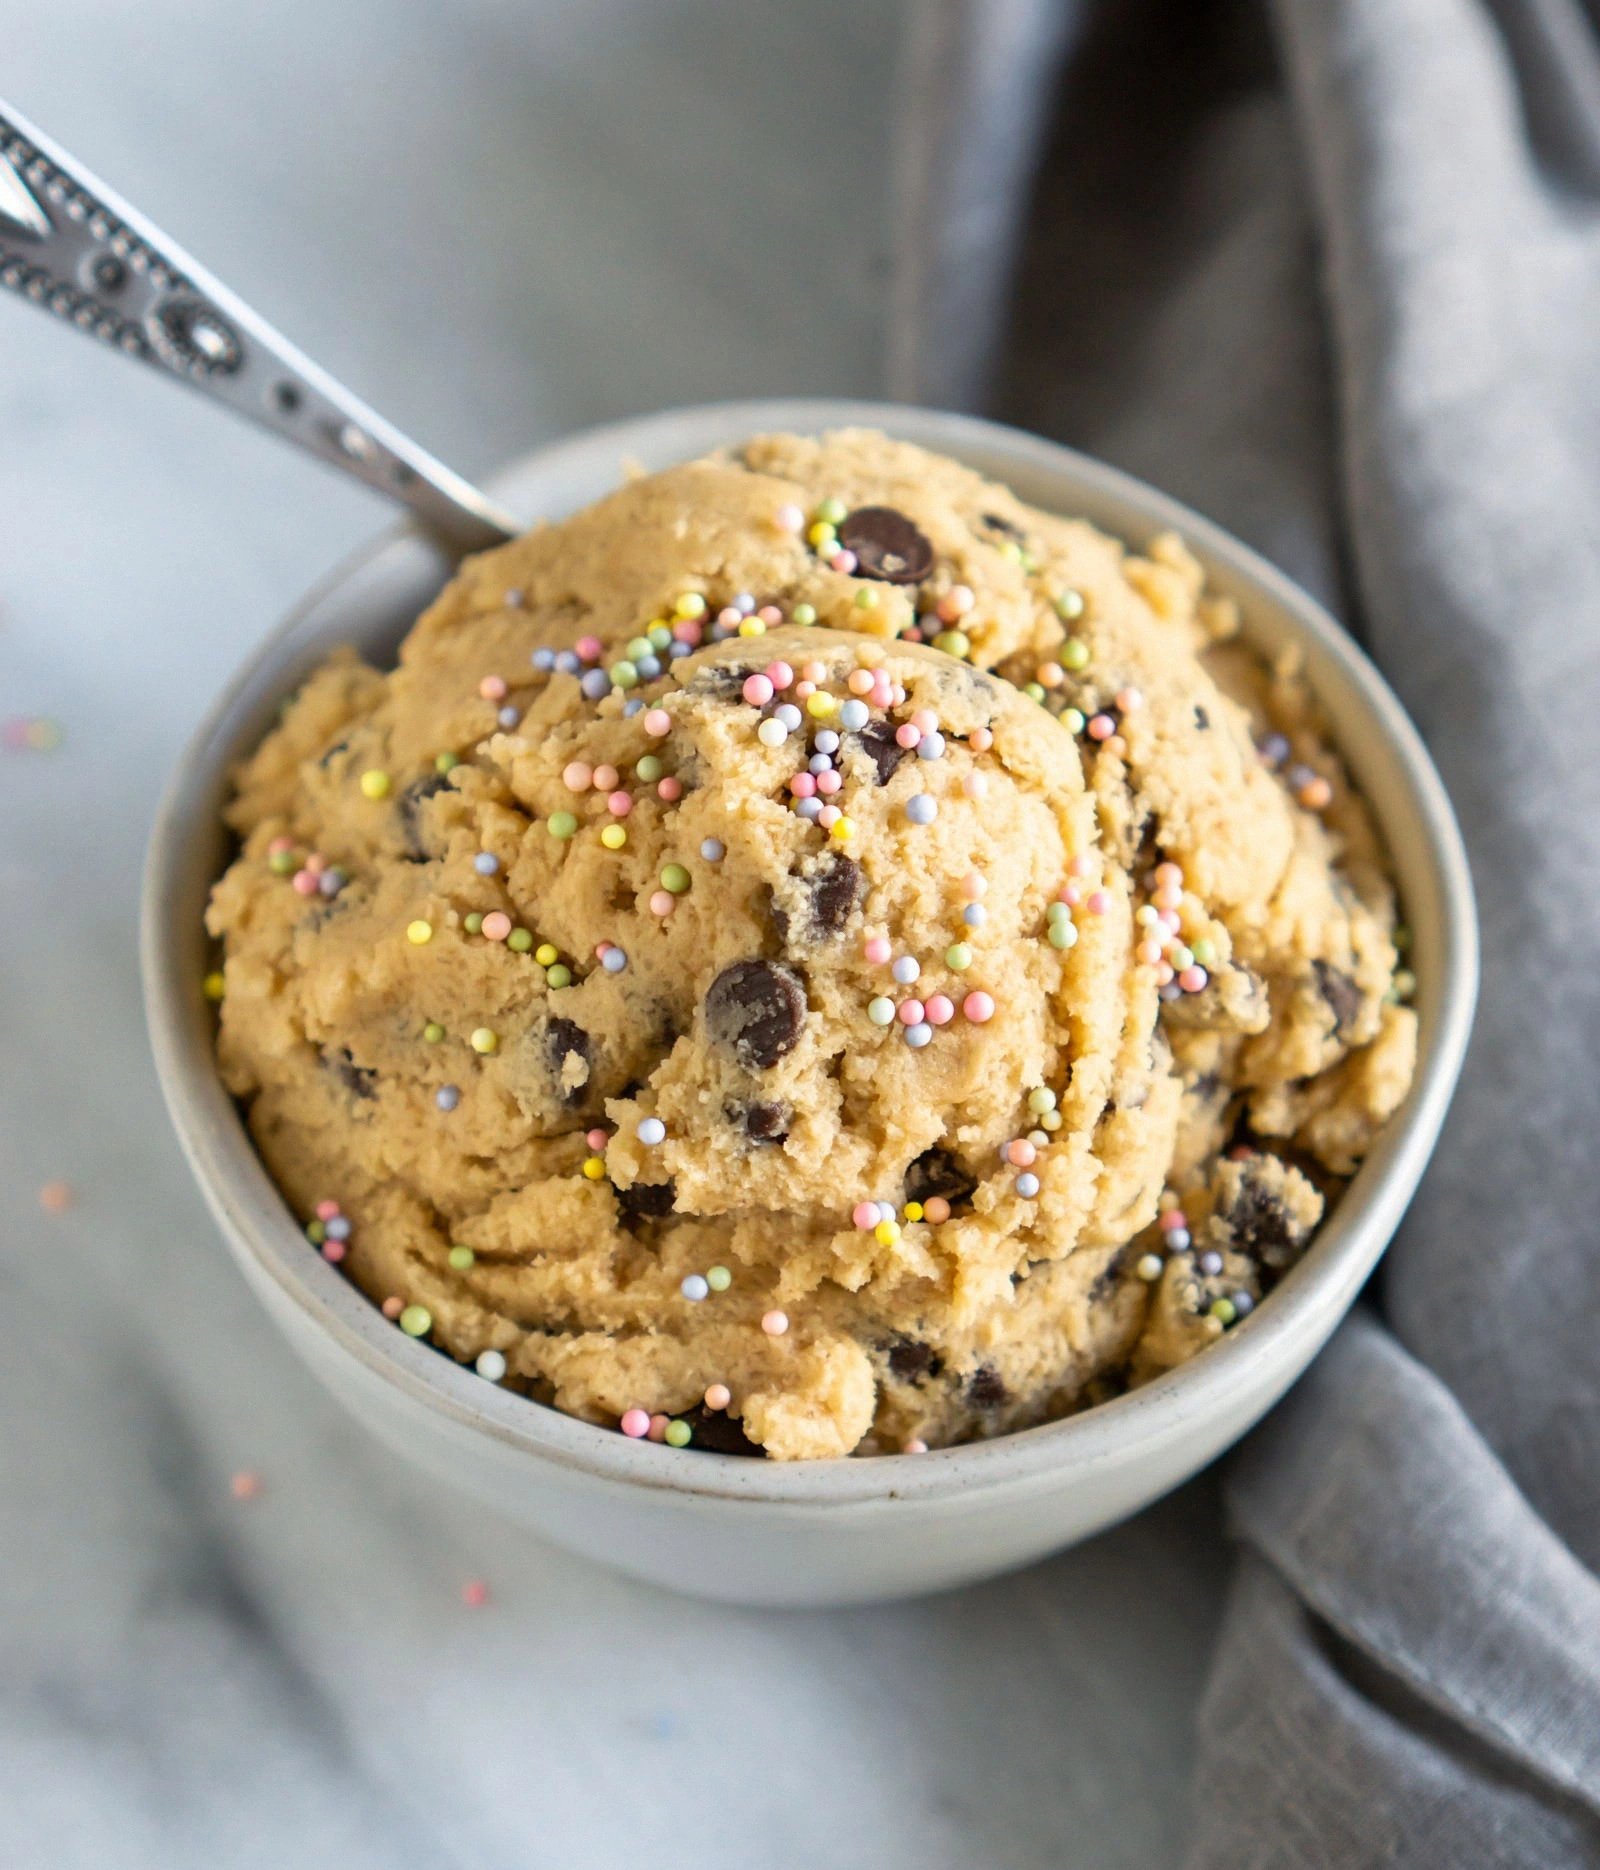
I was rummaging through the pantry one rainy afternoon, feeling the familiar dread of a bland loaf that never quite lived up to the hype. I stared at the bag of plain bread flour, the carton of milk, and the jar of ube powder that had been gathering dust since last year's festival. My craving for something sweet, yet comforting, was louder than the rain. I decided to turn that craving into a daring experiment.
Picture this: the kitchen smells like warm butter, the sound of dough rising is a gentle hum, and the color of the batter is a dreamy mauve that makes your eyes widen. As I kneaded, the dough transformed from a sticky mess into a silky ribbon that slid off the countertop like a ribbon of silk. The aroma of toasted ube hit the air, mingling with the sweet hint of milk, making the whole room feel like a tropical bakery. It was a moment that felt like a secret handshake between me and the ingredients.
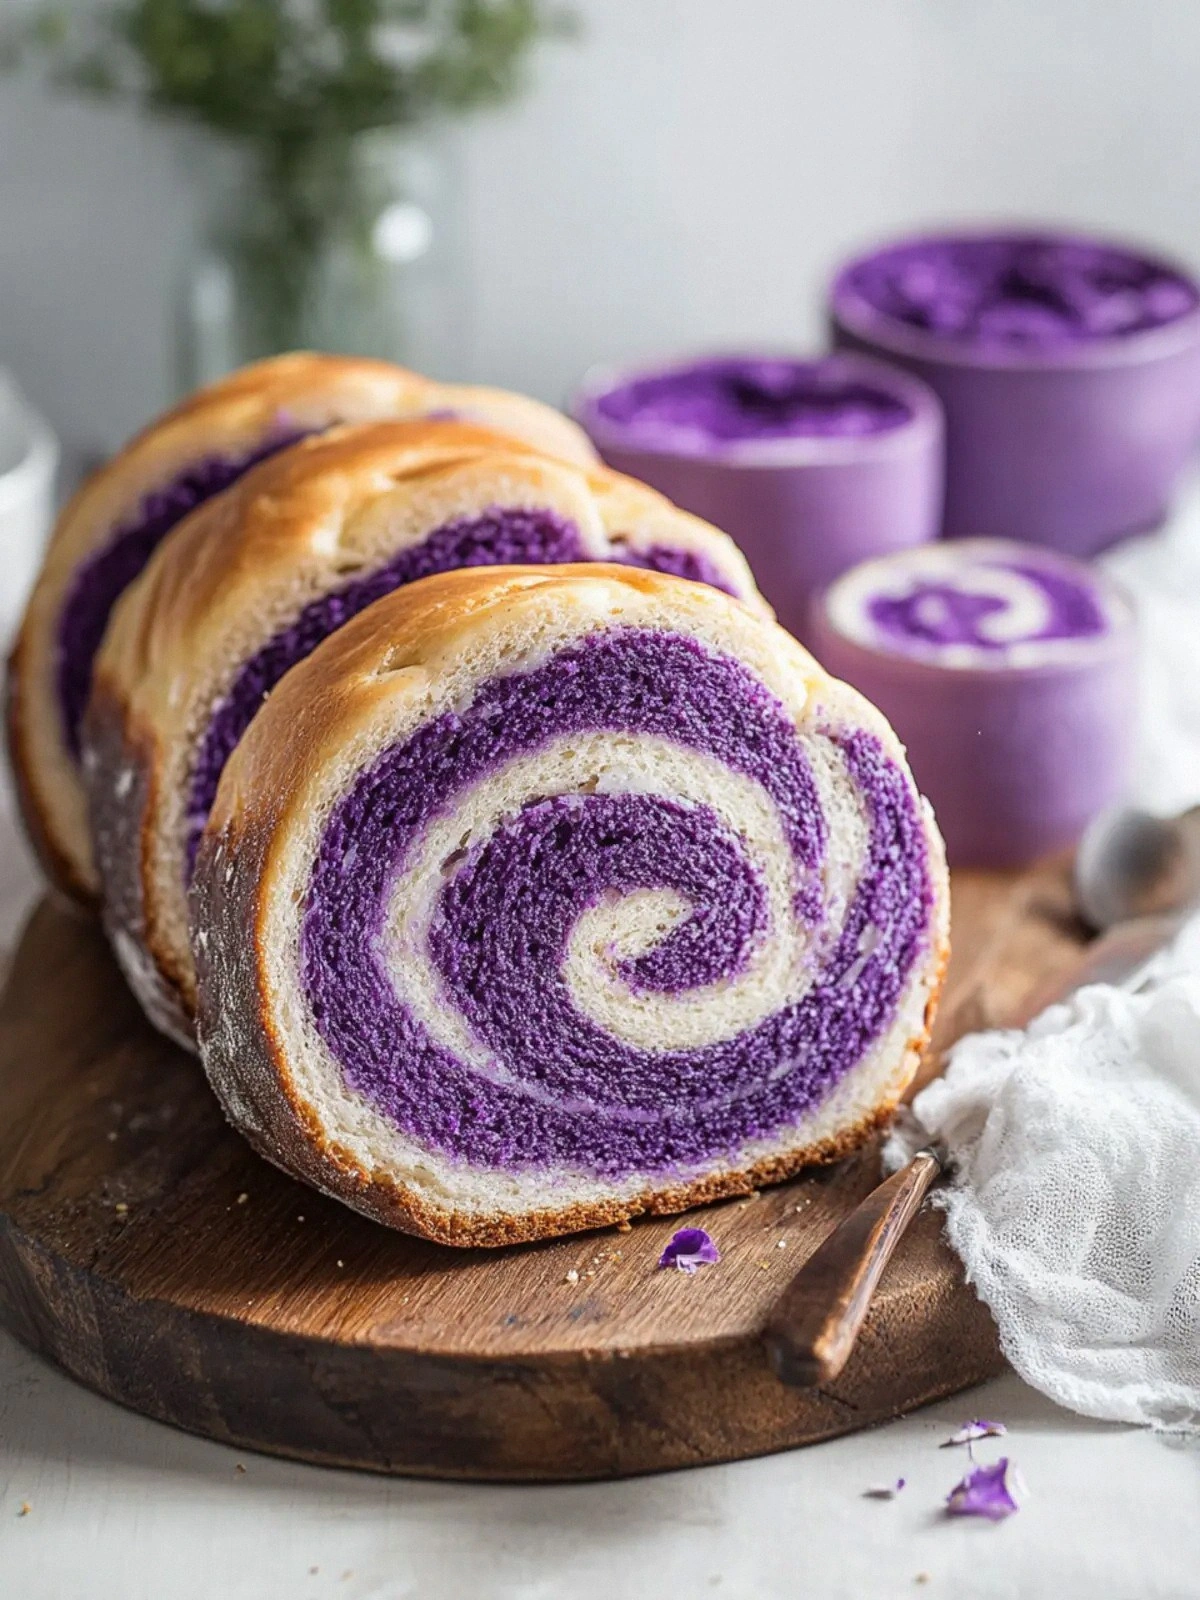
Why does this recipe feel like a revelation? Because I managed to balance the softness of milk bread with the vibrant flavor of ube, all while keeping the process simple enough for a novice. The result is a loaf that is airy on the inside, with a buttery crust that cracks like a sunrise. I dared you to taste this and not go back for seconds. And I promise, you'll be the only one who can resist the first bite.
Most recipes get this completely wrong, focusing too much on texture and forgetting flavor. Here, the ube is front and center, not just a color. The technique of combining whole milk with milk powder gives that silky richness without extra fat. Stay with me here — this is worth it. Let me walk you through every single step — by the end, you'll wonder how you ever made it any other way.
What Makes This Version Stand Out
If you’re tired of the same old sweet breads, this version will shock your taste buds. It’s a harmonious blend of texture, flavor, and visual appeal that turns an ordinary loaf into a showstopper. Here’s why it outshines every other recipe you’ve tried.
- Flavor: The ube powder infuses the dough with a deep, earthy sweetness that cuts through the buttery richness. The subtle hint of ube extract amplifies the flavor without overpowering the delicate bread base.
- Texture: The combination of all-purpose and bread flour creates a tender crumb with a slight chew, while the milk and butter provide a moist, melt-in-your-mouth finish. The dough rises to a fluffy height, giving each slice a cloud-like quality.
- Visual Appeal: The vibrant purple hue of the loaf is a feast for the eyes, making it perfect for Instagram-worthy brunches. The crust glazes to a golden-brown that catches the light like a jewel.
- Ease of Use: The recipe requires no advanced techniques, just a few simple steps and a reliable mixer. Even a first‑time baker can achieve professional results with minimal fuss.
- Versatility: The loaf can be served warm for breakfast, toasted for lunch, or even sliced and frozen for later indulgence. Its flavor profile adapts to sweet or savory pairings with equal grace.
- Make‑Ahead Friendly: You can prepare the dough a day ahead, letting it rise slowly in the fridge, and bake it fresh in the morning. This flexibility fits perfectly into a busy schedule without sacrificing taste.
Inside the Ingredient List
The Flavor Base
Whole milk is the backbone of this loaf, providing a subtle sweetness and a silky mouthfeel that elevates every bite. Milk powder works in tandem with the liquid milk to lock in moisture and give the dough a richer body without adding extra fat. Sugar is the sweetener that balances the earthy tones of ube, while the ube extract deepens the flavor profile, making the purple hue pop. The ube powder is the star that delivers both color and a distinctive, mildly nutty taste that is unmistakably tropical. Together, these ingredients create a harmonious balance that feels like a tropical sunrise in a loaf.
The Texture Crew
All-purpose flour adds structure and a slightly lighter crumb, while bread flour contributes the gluten strength needed for a good rise. The combination of the two creates a dough that is soft yet sturdy enough to hold its shape during proofing. Unsalted butter melts into the dough, creating a tender crumb and a buttery aroma that lingers. The large egg provides richness and helps bind the dough, giving it a silky finish. Water is the catalyst that hydrates the flour, enabling gluten development and allowing the dough to stretch and rise.
The Unexpected Star
Dry active yeast is the engine that drives the dough’s rise, turning sugars into carbon dioxide and giving the loaf its airy lift. Kosher salt not only flavors the bread but also controls yeast activity, preventing a rushed rise. Heavy cream is a subtle finishing touch that adds a velvety texture and a slight richness to the crumb, making each bite feel indulgent.
The Final Flourish
When all the elements come together, the result is a loaf that feels both comforting and adventurous. The gentle sweetness of the milk and sugar, the earthy depth of ube, and the buttery softness of the crumb create a symphony of flavors. The final flourish of ube extract ensures that every bite delivers a burst of tropical delight. This is not just bread; it’s a statement piece for any table.
Everything's prepped? Good. Let's get into the real action.
The Method — Step by Step
- In a large bowl, whisk together whole milk, water, and the dry active yeast. Let the mixture sit for 5 minutes until it becomes frothy, indicating that the yeast is alive and kicking. This simple step sets the stage for a perfect rise. Keep an eye on the temperature; if it’s too hot, the yeast may die.
- Add the sugar, milk powder, ube powder, and ube extract to the yeast mixture, stirring until the powders dissolve completely. The batter should be smooth and free of lumps. This is where the magic color begins to seep into the dough.
- Combine all-purpose and bread flour in a separate bowl. Gradually pour the wet mixture into the flour, mixing with a wooden spoon until a shaggy dough forms. Then transfer the dough to a lightly floured surface and knead for about 8 minutes, or until it becomes smooth and elastic. The dough should pass the windowpane test, stretching thin enough to see light through it.
- Incorporate the egg, melted butter, and heavy cream into the dough, folding until fully blended. The dough should feel supple and slightly tacky. This addition enriches the crumb and gives the loaf a silky finish. Keep the dough warm; a cold dough will slow down the rise.
- Shape the dough into a ball, place it in a greased bowl, and cover with a clean towel. Let it rise in a warm spot until doubled in size, about 1.5 to 2 hours. The dough should feel light and airy, like a puff of cloud.
- Once the dough has risen, gently punch it down to release the gas. Turn it onto a lightly floured surface and shape it into a loaf. Place the loaf on a parchment-lined baking sheet and cover again. Let it rest for 30 minutes to allow the gluten to relax.
- Preheat the oven to 375°F (190°C). Bake the loaf for 30 minutes, or until the crust turns a deep golden brown and the internal temperature reaches 190°F (88°C). The aroma that fills the kitchen at this point will have you questioning whether you’re ready for dessert.
- Remove the loaf from the oven and let it cool on a rack for at least 15 minutes before slicing. The cooling step allows the crumb to set, preventing a gummy texture. Slice with a serrated knife for clean cuts. Serve warm for the best experience, or let it cool completely for a more portable treat.
That's it — you did it. But hold on, I've got a few more tricks that'll take this to another level.
Insider Tricks for Flawless Results
The Temperature Rule Nobody Follows
Temperature is the unsung hero of bread making. If your kitchen is too cold, the dough will take forever to rise. Conversely, a hot spot can kill the yeast and result in a flat loaf. I always set my oven to 200°F (93°C) and let the dough sit in that warm zone for the bulk rise. This subtle trick keeps the yeast active and the dough airy.
Why Your Nose Knows Best
Before you even lift the loaf out of the oven, trust your nose. A golden-brown crust with a subtle caramelized scent indicates perfection. If it smells more like burnt sugar, it’s overbaked. If it’s still raw, give it another five minutes. Your sense of smell is a reliable judge of doneness.
The 5-Minute Rest That Changes Everything
After you remove the loaf, let it rest for exactly five minutes before slicing. This pause allows the steam inside to redistribute, preventing a gummy crumb. I’ve seen even seasoned bakers skip this step, only to be disappointed by the texture.
Don’t Skip the Proofing Bag
Using a proofing bag or a simple plastic bag keeps the dough from drying out during the final rise. It also creates a mini-oven effect, encouraging even expansion. I’ve found that a bag with a few holes works best, allowing the dough to breathe without losing moisture.
Use a Light Hand When Shaping
Overworking the dough after the bulk rise can collapse the structure. Gently shape the loaf, pressing lightly to form the crust. This ensures the loaf retains its height and doesn’t become flat.
Freeze for Later
If you’re not going to eat the loaf right away, wrap it tightly in plastic wrap and freeze. When you’re ready, thaw it at room temperature and warm it in the oven for 10 minutes. The result is as good as freshly baked.
Creative Twists and Variations
This recipe is a playground. Here are some of my favorite ways to switch things up:
Chocolate Ube Swirl
Fold in a handful of cocoa powder with the ube mixture to create a chocolatey swirl. The chocolate complements the earthy ube, turning the loaf into a decadent dessert.
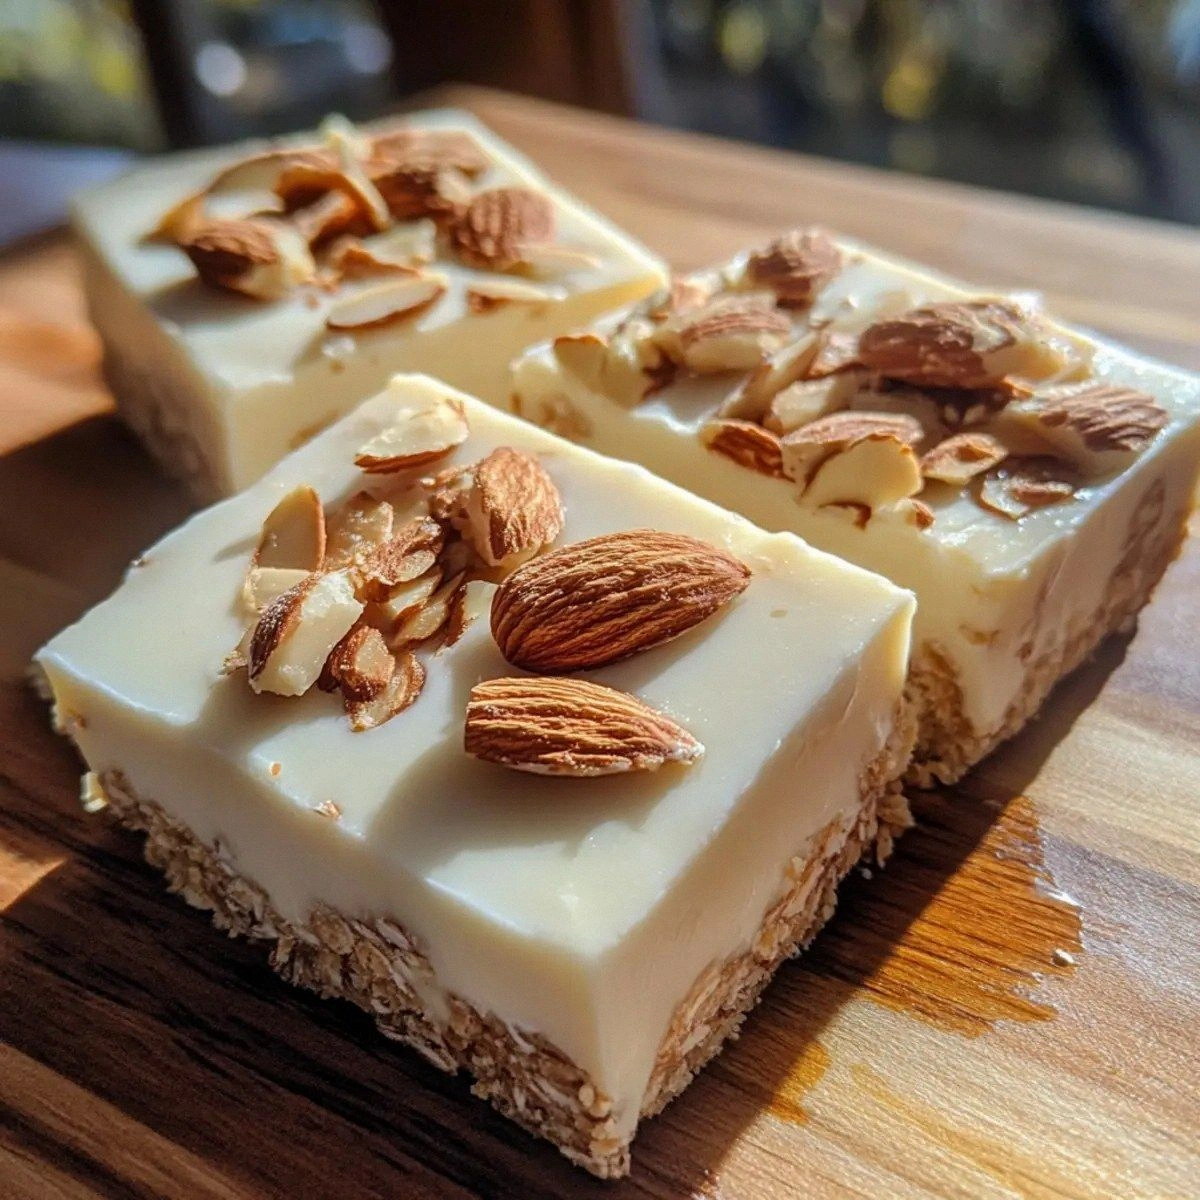
Almond Crunch Topping
Sprinkle sliced almonds and a pinch of sea salt on top before baking. The crunch adds texture, and the salt balances the sweetness.
Savory Ube Brioche
Reduce the sugar by half and add a teaspoon of smoked paprika. Serve with a slice of cheese or a dollop of ricotta for a savory twist.
Matcha Ube Fusion
Stir in a tablespoon of matcha powder with the ube mixture for a green tea flavor that pairs beautifully with the purple hue.
Gluten-Free Ube Bread
Replace bread flour with a gluten-free blend and add a tablespoon of xanthan gum. The result is a fluffy, allergy-friendly loaf.
Ube Cinnamon Swirl
Mix in a teaspoon of ground cinnamon with the dry ingredients. The warm spice elevates the tropical flavor for a cozy fall treat.
Storing and Bringing It Back to Life
Fridge Storage
Wrap the cooled loaf tightly in plastic wrap, then place it in an airtight container. Store in the refrigerator for up to three days. The cool environment slows down mold growth while preserving freshness.
Freezer Friendly
Slice the loaf before freezing, then place the slices in a resealable bag. Freeze for up to two months. When ready to eat, toast the slices directly from the freezer for a crisp finish.
Best Reheating Method
Reheat the loaf in a preheated oven at 350°F (175°C) for 10 minutes. For a softer crumb, add a tiny splash of water to the bottom of the pan; the steam will revive the moisture and give the loaf a fresh, warm feel.